Why Recessed Lighting Installation Transforms Your Space
Recessed lighting installation is an effective way to modernize your home and improve its functionality. These lights can brighten a dark room, highlight artwork, or create a sleek look without taking up visual space.
Quick Guide to Recessed Lighting Installation:
- Plan your layout- Determine the number of lights needed and their spacing.
- Choose the right fixtures- Select IC-rated housings for insulated ceilings or remodel housings for existing ceilings.
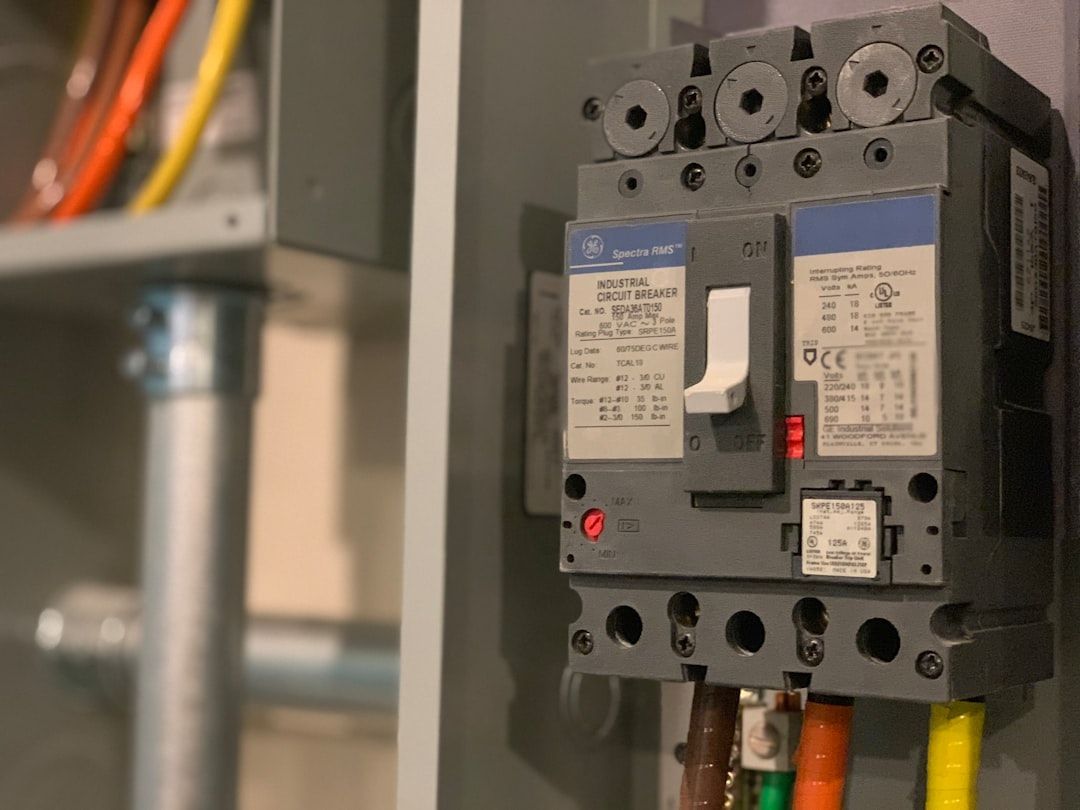
- Turn off power- Shut off electricity at the breaker and verify with a voltage tester.
- Cut ceiling holes- Use a hole saw matching your fixture size.
- Wire the fixtures- Connect matching colored wires (black to black, white to white, etc.).
- Install housing and trim- Secure the housing in the ceiling and attach the trim.
Installing recessed lights is often easier than you might expect and is a cost-effective update for any room. Modern LED kits, especially "canless" designs, have simplified the process by eliminating bulky housings and reducing installation steps.
The benefits go beyond aesthetics. LED recessed lights are long-lasting, and ENERGY STAR certified kits often include dimming capabilities. You can also choose from various color temperatures (from warm 2700K to daylight 4100K+) to set the right mood.
However, proper installation requires careful planning around ceiling structure, insulation, circuit capacity, and local codes. Complex situations involving aluminum wiring, overloaded circuits, or difficult wiring runs require a licensed electrician's expertise.
Planning Your Recessed Lighting Project
Before cutting any holes, a solid plan is essential for a successful recessed lighting installation. Also known as "can lights" or "pot lights," these fixtures are a timeless upgrade. This planning stage determines what to install, where to install it, and how.

Choosing Fixtures: Housing Types, Trim Styles, and Canless Options
The first decision is the fixture type, which depends on your ceiling and insulation. Key housing types include New Construction (for open ceilings), Remodel (for existing ceilings), IC-Rated (safe for contact with insulation), and Airtight (for energy efficiency). We generally recommend IC-rated housings for safety and peace of mind in your Long Island home.
| Housing Type | Best For | Insulation Contact | Key Feature |
|---|---|---|---|
| New Construction (NC) | Open joists, new builds, major renovations | Varies (IC/Non-IC) | Frame attaches directly to joists. |
| Remodel (RM) | Existing ceilings, no attic access | Varies (IC/Non-IC) | Installed from below, uses clips to secure to drywall. |
| IC Rated | Areas where insulation will touch the fixture | Yes | Safe for direct contact with insulation, prevents overheating. |
| Non-IC Rated | Areas with no insulation or adequate clearance | No | Requires 3-inch clearance from insulation. |
| Airtight (AT) | Insulated ceilings, energy efficiency | Yes | Prevents air leakage between living space and attic, often combined with IC rating. |
-
Canless vs. Traditional Cans:"Canless" or "ultra-slim LED lights" are a popular alternative to traditional cans. They integrate the LED into a slim fixture, eliminating the bulky housing. This simplifies installation, reduces cost, and improves energy efficiency. Many also offer adjustable color temperatures.
-
Trim Styles: The trim is the visible part of the light.
- Baffle Trim: The most common style; its ribbed interior reduces glare.
- Eyeball & Gimbal Trims: Allow you to rotate and angle the light, perfect for accent lighting or sloped ceilings.
- Reflector Trim: Has a shiny interior to maximize light output.
- Decorative Trim: Comes in various finishes to match your decor.
Light Characteristics: Dimming, Color, and ENERGY STAR
Consider the quality of light the fixture produces:
- Dimming Capabilities: Most modern LED recessed lights are dimmable with a compatible switch, allowing you to adjust intensity, create moods, and save energy. ENERGY STAR kits often dim to 20% of full output.
- Color Temperature (Kelvin):
This determines the light's hue.
- Warm White (2700K-3000K): Cozy and inviting for living areas.
- Cool White (3500K-4000K): Neutral and bright for kitchens and workspaces.
- Daylight (5000K+): Crisp and stimulating for garages or accent lighting. Many canless LED fixtures have adjustable color temperatures, letting you choose the perfect shade after recessed lighting installation.
- ENERGY STAR Benefits: We recommend ENERGY STAR certified kits for their superior energy savings, performance, and durability. They are a smart choice for your home and wallet.
Layout and Spacing: Where to Put Your Lights
Optimal placement is crucial for effective lighting.
- Room Function:
- Ambient Lighting: For general illumination, space lights 4-6 feet apart in a grid.
- Task Lighting: For workspaces like kitchen counters, place lights closer together (2-3 feet apart).
- Accent Lighting: To highlight features, place lights 2-3 feet from the wall. Use eyeball or gimbal trims.
- Ceiling Height: Taller ceilings may require larger lights or closer spacing.
- Wall Washing: Position lights a few feet from a wall to create a soft glow down its surface.
To ensure even spacing, measure the ceiling and divide by the number of lights. Use painter's tape to mark the layout on the ceiling to visualize the result before cutting.
Essential Tools for Recessed Lighting Installation
Having the right tools makes the job smoother:
- Tape Measure
- Stud Finder (to locate ceiling joists)
- Drill
- Adjustable Hole Saw Cutter
- Wire Strippers
- Voltage Tester (for safety)
- Screwdrivers
- Pliers
- Respirator/Dust Mask
- Safety Glasses
- Utility Knife/Drywall Saw
- Fish Tape (for pulling wires)
- Ladder
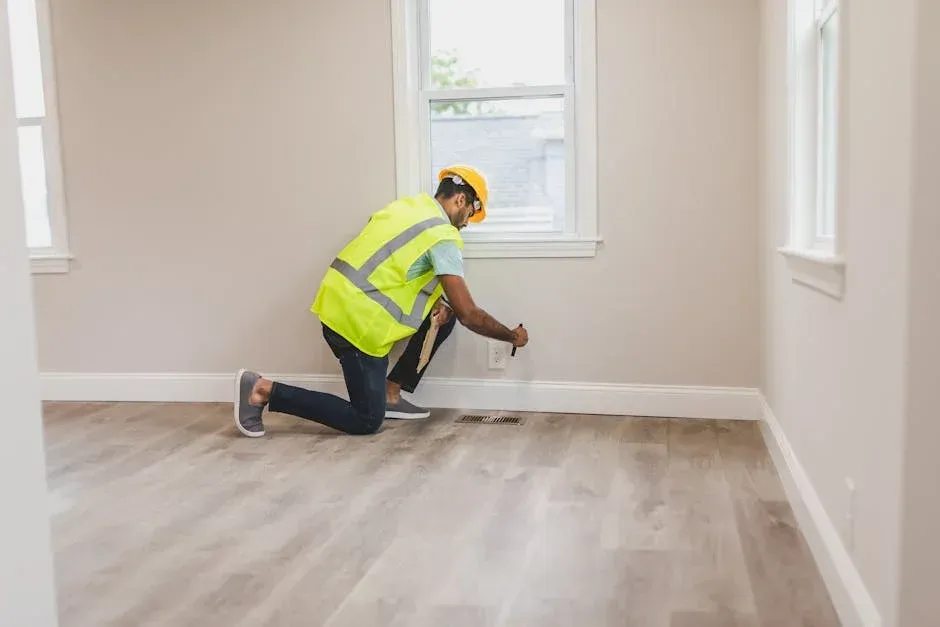
Safety and Preparation Before You Begin
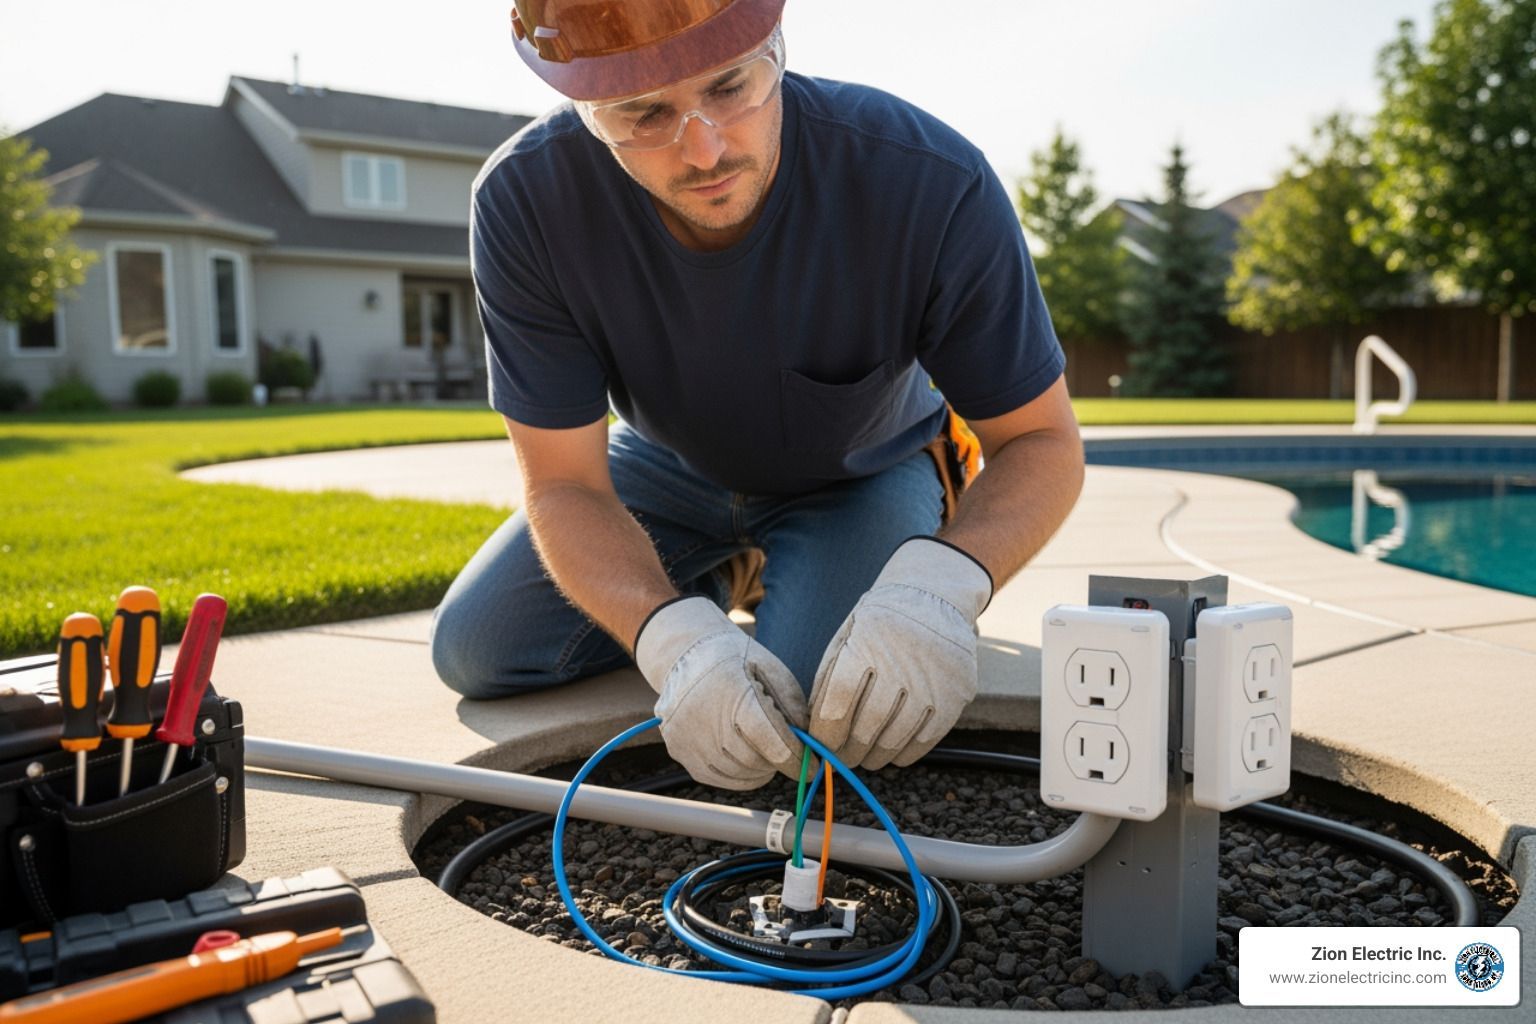
Safety is paramount when dealing with electricity. As a family-owned business serving Long Island for over 30 years, we at Zion Electric Inc. cannot stress this enough: always prioritize safety.

Essential Safety Precautions
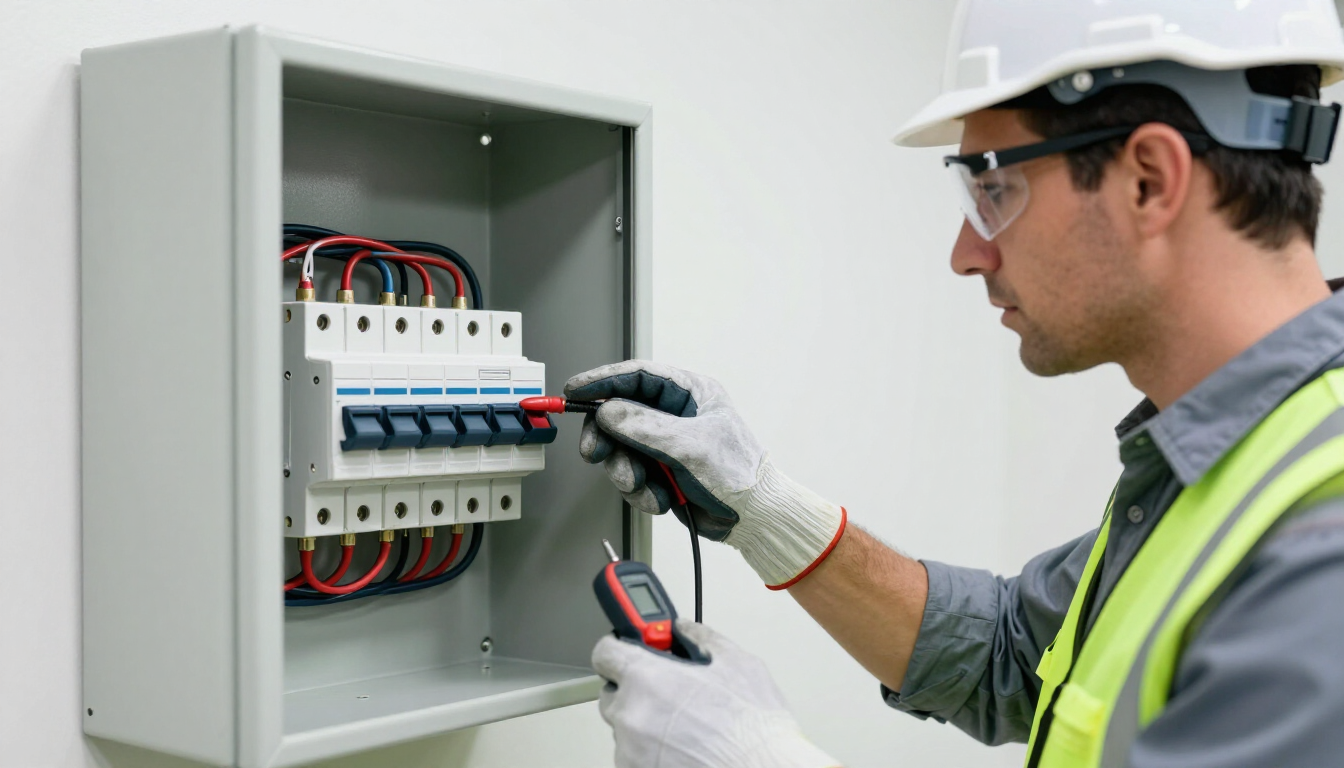
- Turn Off Power at the Circuit Breaker Box: This is the most critical step. Go to your main electrical panel and shut off the breaker for the room you're working in. If unsure, turn off the main breaker. Watch this video on working with a circuit breaker box.
- Use a Voltage Tester: After shutting off the breaker, use a non-contact voltage tester on the switch and wires to confirm the power is off. The circuit is dead if the tester doesn't light up or beep.
- Wear a Respirator and Eye Protection: Cutting drywall creates fine dust. Wear a quality respirator and safety glasses to protect your lungs and eyes.
- Place the Wall Switch in the Off Position: It's a good habit to keep the wall switch off to prevent accidental power restoration.
- Check Local Codes: All electrical work must comply with local codes. Always check if a permit is required for your project in Long Island.
Preparing the Ceiling: Locating Joists, Marking, and Cutting
With safety measures in place, you can prepare the ceiling for your recessed lighting installation.
- Locating Joists: Use a stud finder to locate and mark ceiling joists. You must avoid cutting into these structural beams, so adjust your layout as needed.
- Marking Locations: Using your layout plan and the manufacturer's template, mark the center of each hole. Double-check all measurements.
- Checking for Obstructions: If you have attic access, visually inspect the area for obstructions. Without attic access, drill a small pilot hole and probe with a bent wire or borescope to check for pipes, ducts, or wiring.
- Cutting Clean Holes: Trace the included template onto the ceiling. Attach the adjustable hole saw cutter to your drill, center the pilot bit, and drill with steady pressure. A DIY dust shield can minimize mess. Let the saw do the work to create a clean hole, which ensures a better finish.
A Step-by-Step Guide to Recessed Lighting Installation
Now that we've planned and prepared, let's get into the actual recessed lighting installation. The steps vary slightly depending on your starting point.
Upgrading Existing Recessed Downlights with Retrofit Kits
Upgrading to LED with a retrofit kit is often the easiest installation. These kits are designed to replace the old bulb and trim with an ENERGY STAR certified LED light.
- Turn Off Power:(See "Safety and Preparation" above).
- Remove Old Components: Remove the existing bulb and trim.
- Screw in Adapter: Screw the retrofit kit's adapter into the existing bulb socket.
- Connect Wiring: Plug the new light's connector into the adapter.
- Insert and Secure: Push the new LED light into the existing can until its spring clips hold it in place.
- Test: Restore power and test your new light.
Installing New Recessed Downlights When Replacing an Existing Ceiling Fixture
Replacing an old fixture (like a pendant light) with a recessed light involves some wiring.
- Turn Off Power:(Safety first!)
- Remove Old Fixture: Disconnect and remove the old ceiling fixture and its junction box.
- Prepare Opening: Enlarge the existing hole with your hole saw to fit the new housing.
- Find Power Source: The existing fixture's wiring will be your power source.
- Wire the Recessed Light:(See "The basics of wiring" below).
- Install Housing and Trim: Secure the remodel housing and attach the trim.
- Test: Turn power back on and enjoy.
Installing New Recessed Lighting When There Is No Existing Overhead Lighting
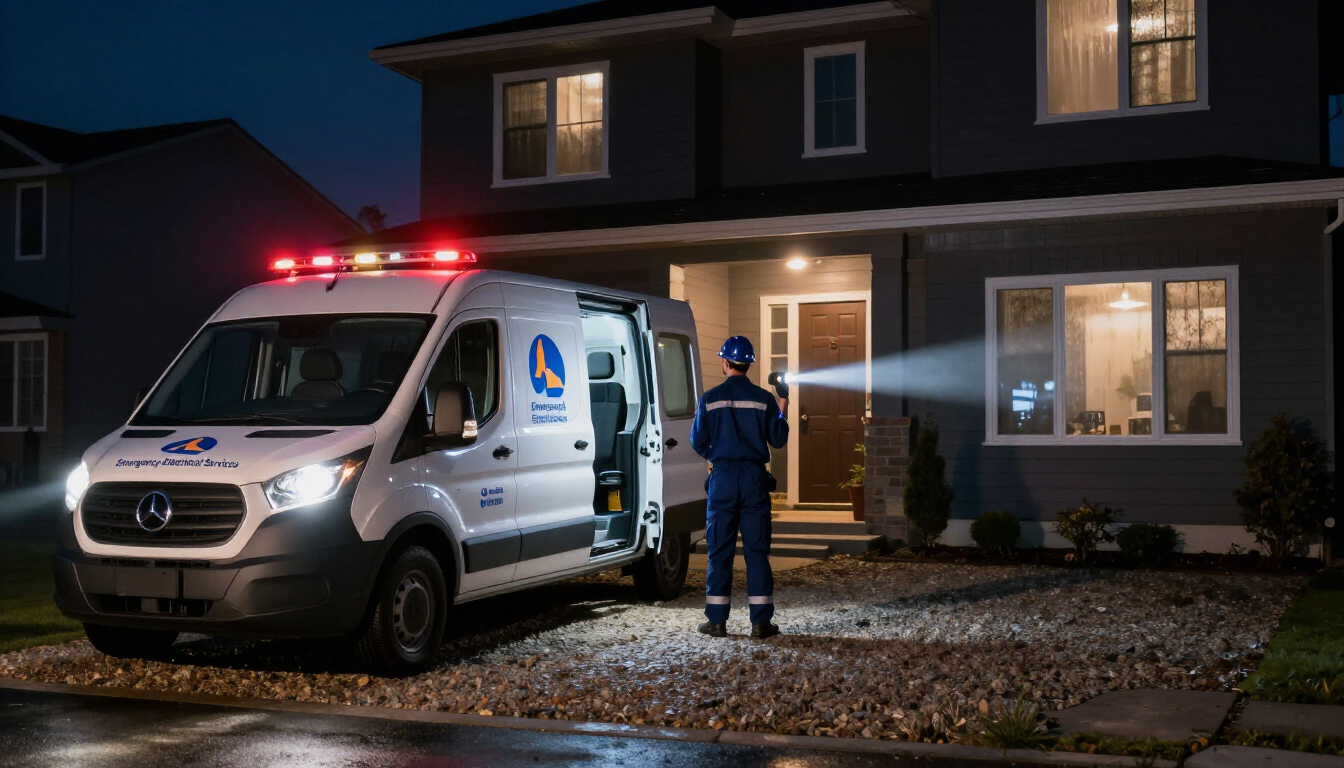
Installing lights where none exist requires running new wiring. This is a common project for basements and is where professional help from Zion Electric Inc. is valuable, especially for fishing wires through finished ceilings.
- Plan Layout & Cut Holes:(As discussed previously).
- Finding a Power Source: You must find a power source, like a nearby outlet or switch. Crucially, you must ensure the circuit can handle the added load. Avoid dedicated appliance circuits. Assessing circuit load is complex, so consulting an electrician is recommended.
- Run New Wiring: Run electrical cable (like Romex) from the power source to the first light, then "daisy-chain" to the others. This is easier with attic access; otherwise, you may need to fish wires through joist spaces. Leave about 18 inches of slack at each opening.
- Wire the Fixtures:(See below).
- Install Housing and Trim: Secure the remodel housing and trim.
- Test: Restore power and test all lights.
For complex electrical needs, our specialty-services at Zion Electric Inc. ensure your project is done safely and correctly.
The basics of wiring your new recessed lighting installation
Wiring, especially when daisy-chaining, follows a standard pattern:
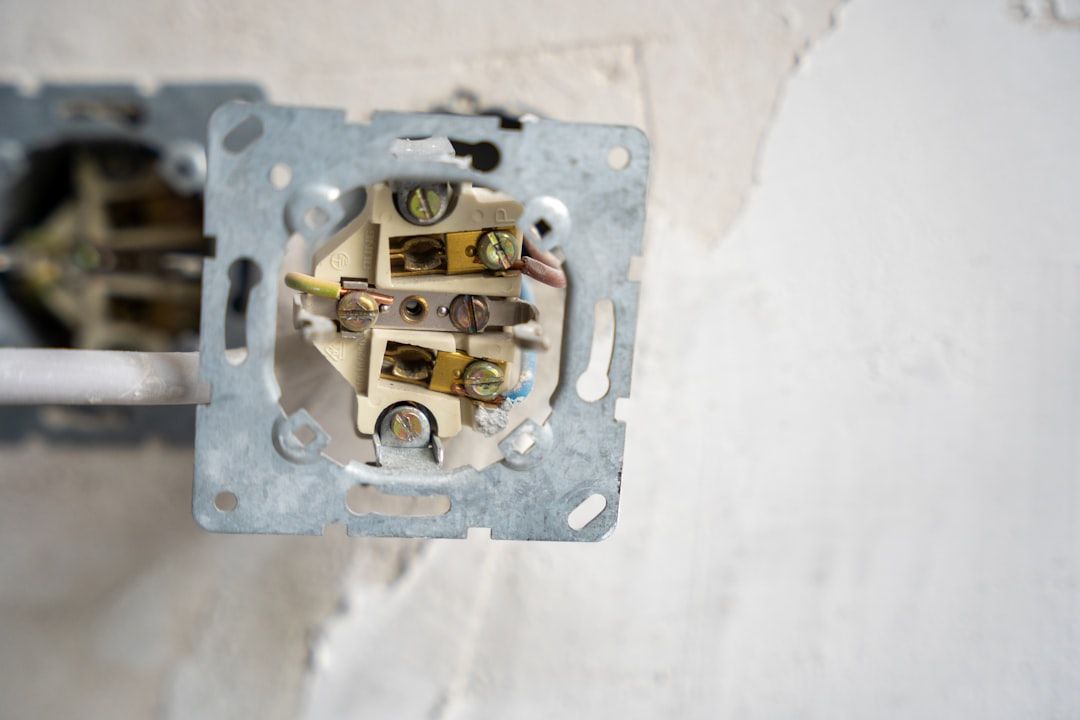
- Prepare Wires: Strip 6-8 inches of outer sheathing from the cable, leaving 1/4 inch inside the junction box clamp. Then strip 3/4 inch of insulation from the black and white wires.
- Connect Wires: Using wire connectors, connect all matching wires: ground to ground (bare copper/green), neutral to neutral (white), and hot to hot (black). This includes wires from the power source, the fixture, and the cable going to the next light (if daisy-chaining).
- Secure Cable: Clamp the electrical cable into the fixture's junction box to prevent strain.
- Watch a Video: For a visual guide, check out this video on How Do I Connect Two Wires?.
Securing the housing and trim for a professional recessed lighting installation
Once wired, secure the fixture and add the trim.
- Install the Housing: Remodel housings typically have spring-loaded clips. Push the housing into the ceiling hole; the clips will deploy and grip the drywall. Push until the housing is flush with the ceiling and give it a gentle tug to confirm it's secure.
- Attaching the Baffle and Trim: Most trims attach with torsion springs or tension clips. Hook or insert the springs/clips into the housing, then push the trim assembly up until it's flush with the ceiling. This provides a clean, finished look for your recessed lighting installation.
Advanced Installations and Final Touches
Unique home features, like sloped ceilings, require extra consideration. Choosing the right bulb and switch completes the project.
Considerations for Installing Recessed Lighting on Sloped or Vaulted Ceilings
Sloped or vaulted ceilings require special fixtures for recessed lighting installation, as standard lights would shine at an angle.
- Sloped-Ceiling Housings: Use special housings designed for sloped ceilings. They have an internal adjustment to aim the light straight down.
- Eyeball or Gimbal Trims: Alternatively, use a standard housing with an eyeball or gimbal trim, which allows you to swivel the light into the correct position.
- Measure the Slope: You'll need to know your ceiling's pitch (e.g., a 4/12 slope) to choose a compatible fixture. This information is usually on the product packaging. For a detailed guide, check out How to Install Recessed Lighting on Sloped Ceilings.
Choosing the Right Bulb and Installing Dimmer Switches
The bulb choice impacts light quality and energy efficiency.
- LED vs. Halogen:
- LED: We strongly recommend LEDs. They are highly energy-efficient, have a very long lifespan, produce less heat, and are available in various dimmable color temperatures.
- Halogen: These bulbs are less efficient, produce more heat, and have a much shorter lifespan than LEDs.
- Wattage and Lumens: With LEDs, focus on lumens(light output) rather than wattage. Choose lumens based on the room's function (higher for task lighting). Ensure the bulb's wattage doesn't exceed the fixture's maximum rating.
- Smart Bulbs: For ultimate convenience, smart LED bulbs offer control via an app or smart home system, with features like color changing and scheduling.
- Installing Dimmer Switches: To use dimming features, install a compatible dimmer switch. Ensure it's rated for LEDs and can handle the total wattage of all lights on the circuit. This lets you adjust the room's ambiance from bright to a soft glow.
Costs and When to Call a Professional
Understanding costs and knowing when to hire a professional is key to a successful recessed lighting installation.
Potential Costs: Materials and Labor
The total cost varies based on several factors:
- Material Costs:
- Fixtures: Canless LED fixtures ($10-$30 each) are often more affordable than traditional can/trim combos ($15-$50+ each). Prices increase for advanced features like color-tuning or designer trims.
- Bulbs: LEDs cost more upfront but save money over time due to their long lifespan and energy efficiency.
- Labor Costs:
- DIY: Your labor cost is your time.
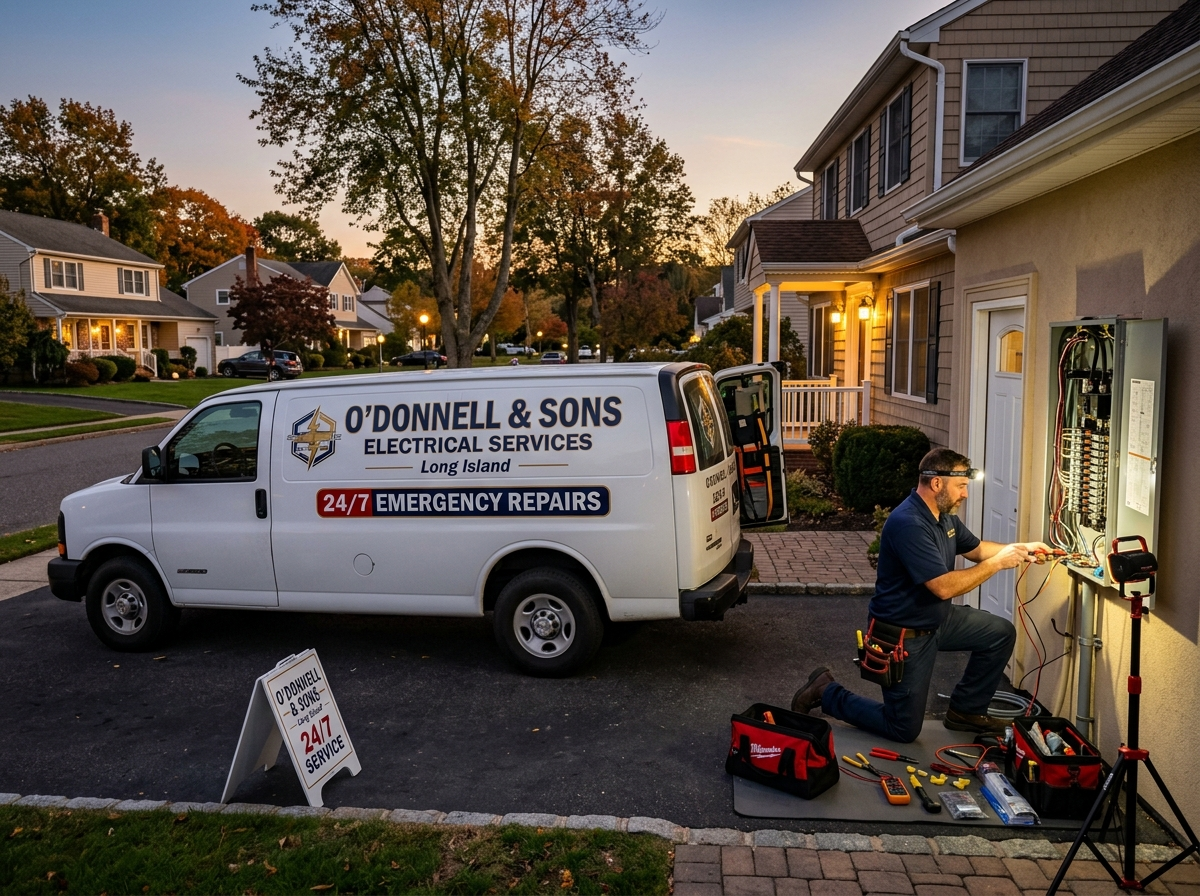
- Professional Electrician: Hiring a pro like Zion Electric Inc. involves labor costs based on job complexity, number of fixtures, and local rates. This pays for expertise, safety, and efficiency.
DIY vs. Professional: Project Complexity, Codes, and Permits
Deciding to DIY or hire a pro depends on your comfort level and the project's scope.
- DIY Considerations: A DIY approach is suitable for simple projects like retrofits if you have the right tools, a solid understanding of electrical safety, and the time to commit.
- Professional Considerations: Hiring a professional is best for complex jobs like running new circuits or fishing wires. A licensed electrician ensures the work complies with all Long Island electrical codes, handles necessary permits and inspections, and carries insurance for your protection. This guarantees a safe recessed lighting installation that passes inspection and protects your home's value.
When to Consult an Electrician
Call a professional electrician if you encounter:
- Aluminum Wiring: This requires special handling by a certified professional to prevent fire hazards.
- Overloaded Circuits: An electrician must run a new circuit if the existing one can't handle the new lights (e.g., over 1,440 watts for a 15-amp circuit).
- Complex Wiring Runs: Fishing wires through finished walls, ceilings, or multiple joists is a job for a pro.
- No Existing Power Source: An electrician can safely run power to a new location.
- Any Uncertainty: If you're ever unsure about electrical work, call a professional. Your safety is paramount.
For a professional consultation and to discuss your specific recessed lighting installation needs in Long Island, don't hesitate to contact Zion Electric Inc.. We're here to help!
Conclusion: Brighten Your Home with Confidence
Recessed lighting installation is a bright idea for any home, blending aesthetics with functionality. These sleek fixtures provide versatile ambient, task, or accent lighting, creating a modern look with energy-efficient LEDs, dimming, and various color temperatures.
This guide covered the crucial steps, from planning and safety to wiring and installation. Understanding housing types, trim styles, and safety precautions is key, whether you're doing a simple retrofit or a full installation.
While many aspects of recessed lighting can be a rewarding DIY project, complex scenarios involving new circuits, aluminum wiring, or simply a lack of confidence in electrical work warrant the expertise of a licensed professional. Your safety and the long-term reliability of your home's electrical system are our top priorities.
For over 30 years, Zion Electric Inc. has provided expert electrical solutions across Long Island, ensuring every recessed lighting installation is safe, compliant, and perfectly executed. Our commitment to clear communication, quick response, and top-tier workmanship means you can trust us to illuminate your space with confidence.
For professional results and peace of mind, explore Zion Electric Inc.'s general electrical services. Let us help you bring your bright ideas to life!