Why EV Charger Installation Matters for Long Island Homeowners
EV charger installation is the process of adding a dedicated electric vehicle charging station to your home or business. Here's what you need to know:
Quick Answer:
- Most Common Setup: Level 2 charger (240V) installed in your garage
- Typical Cost:$1,500-$5,000 including equipment, labor, and permits
- Installation Time: 3-6 hours for basic setup
- Requirements: 40-50 amp dedicated circuit, electrical permit, licensed electrician
- Charging Speed: Full charge in 4-8 hours (vs. 20 hours with standard outlet)
Over 80% of EV owners charge at home because it's the most convenient and cost-effective option. Think of it like charging your phone overnight—you plug in your vehicle and wake up with a full charge.
The average driver covers about 55 kilometers per day, which makes home charging practical for most people. You'll spend roughly $3.70 to travel 200 km when charging at off-peak rates, compared to much higher fuel costs for gas vehicles.
But here's the challenge: installing an EV charger isn't as simple as plugging into a regular outlet. Most homes need electrical upgrades to handle the additional 40-50 amps of power required. You'll also need permits, a licensed electrician, and proper safety certifications to protect your investment and meet local codes.
In Long Island, proper installation protects your home, maintains your insurance coverage, and ensures you can actually use your charger at optimal speeds. Skip these steps and you risk electrical fires, voided warranties, or a charger that takes forever to charge your vehicle.

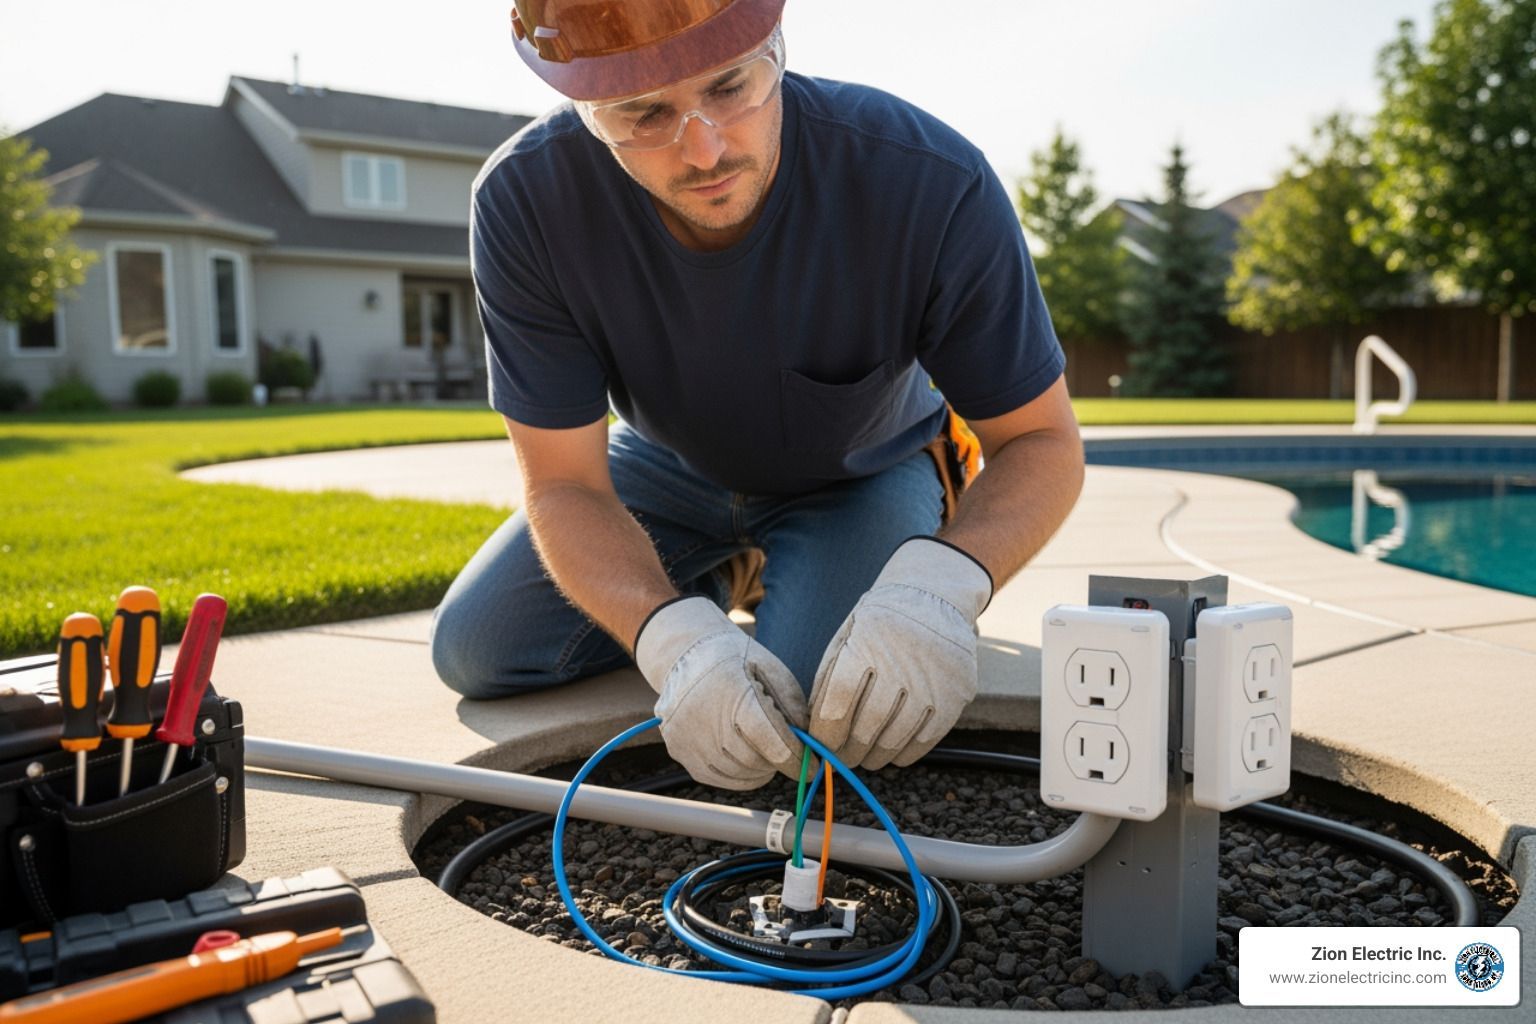
Steps 1 & 2: Electrical Assessment and Charger Selection
Before we even pick up a screwdriver, we need to make sure your home can actually handle the "juice" an electric vehicle requires. Think of your electrical panel like a highway; if all the lanes are already full of cars (your AC, dryer, and stove), adding a massive semi-truck (your EV charger) is going to cause a massive traffic jam—or in this case, a blown main breaker.
Most modern homes in Long Island and Holtsville are equipped with either a 100-amp or 200-amp electrical panel. While 100 amps was plenty back when the biggest appliance in the house was a toaster, today’s high-tech homes often require more. An EV charger installation typically demands a dedicated 40-50 amp circuit. If your panel is already "maxed out," we might need to look at General Electrical Services to upgrade your service.
One clever way to avoid a full-service upgrade is through a Load Management System, also known as an EVEMS (EV Electronic Management System). This smart tech monitors your home’s power usage in real-time. If you turn on the oven and the clothes dryer at the same time, the EVEMS will temporarily throttle down the power going to your car to prevent an overload. It’s like having a digital traffic cop for your electricity!
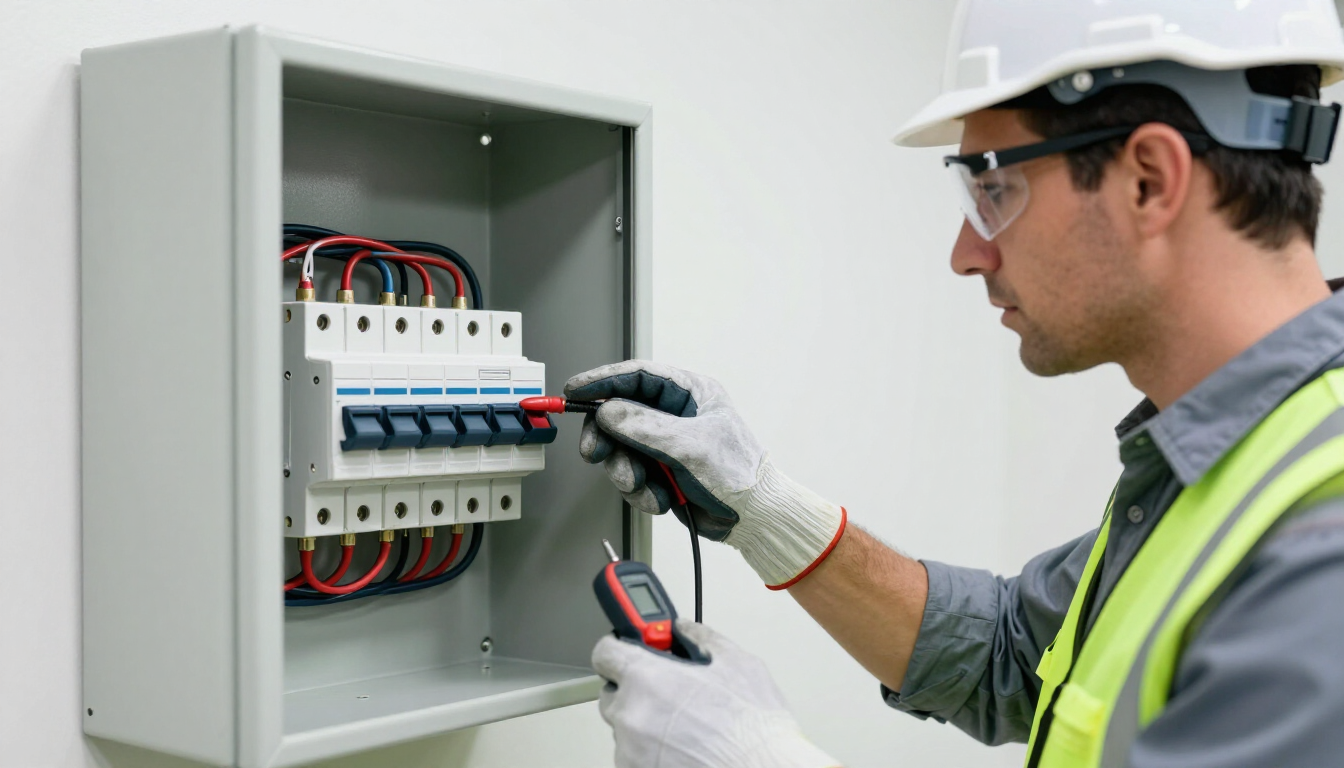
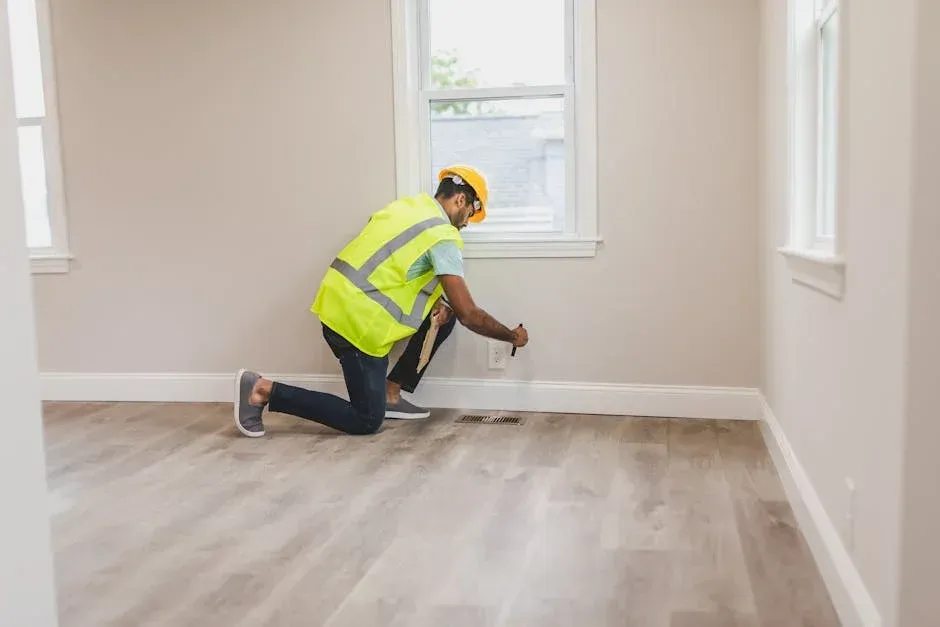
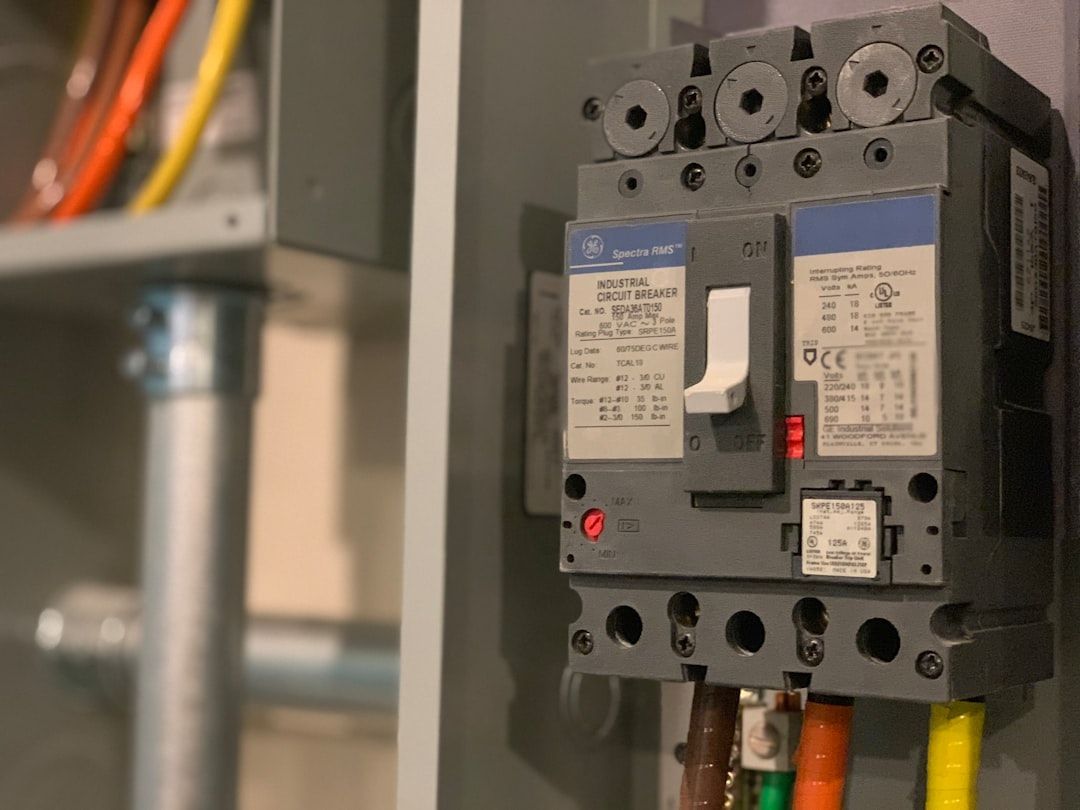
Step 1: Evaluating Your Home’s Electrical Panel
The first thing we do is a "load calculation." We look at the total capacity of your panel and subtract the "peak load" of your existing appliances. To get the most accurate data, you can actually contact your local utility contact to request a Peak Load Usage Report. This report shows exactly how much power your home has pulled at its busiest moments over the last year.
If we find that your panel is full, don't panic. We have a few options:
- Electrical Panel Replacement: Swapping an old, dangerous, or full panel for a modern 200-amp version.
- Sub-Panels: If you have the power but no physical room for a new breaker, a "pony panel" can create that extra space.
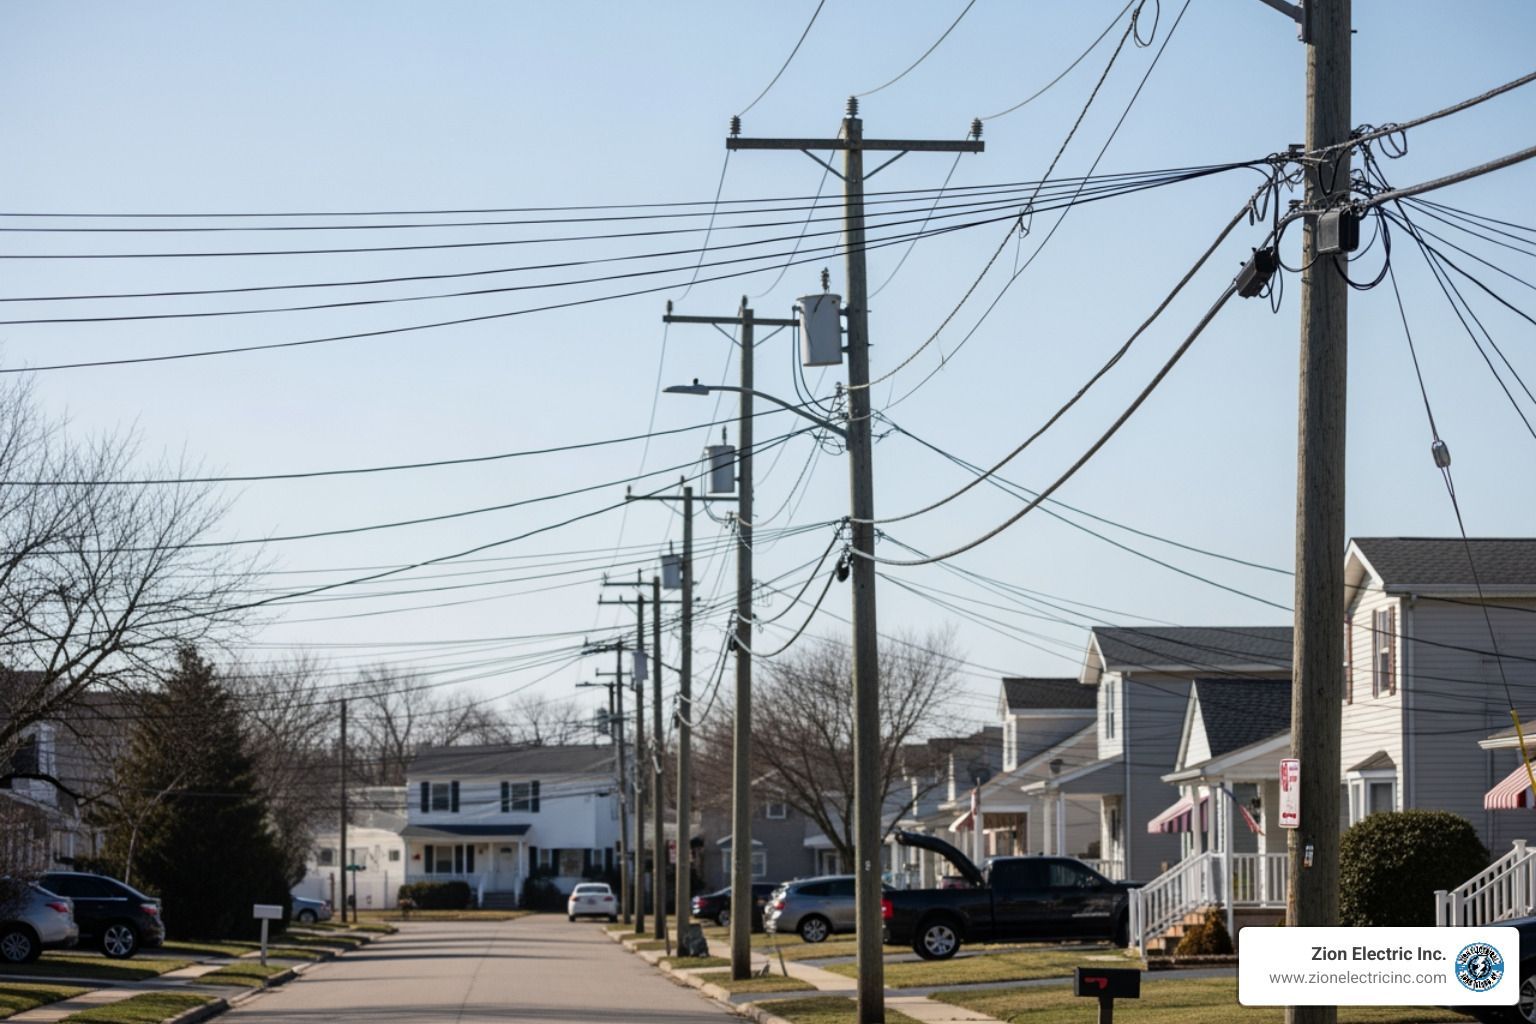
- Service Upgrade: If the wires coming from the street to your house aren't thick enough, we work with PSEG Long Island to bring more power to your property.
Step 2: Choosing the Right Level 2 EV charger installation
Once we know your home is ready, it’s time for the fun part: picking your charger! Not all chargers are created equal. While a Level 1 charger (the one that comes with the car) works in a standard 120V outlet, it is painfully slow—adding only about 3-5 miles of range per hour. For most of our Long Island neighbors, a Level 2 charger is the way to go.
When selecting your unit, consider these factors:
- Amperage: Most daily drivers do great with a 32A or 40A charger. If you have a massive battery (like a Ford Lightning or a Hummer EV) and drive long distances, you might want a 48A or even 80A charger, though these almost always require hardwiring.
- Smart Features: Do you want to start your charging from an app while you're sitting on the couch? Look for chargers with WiFi connectivity.
- Weatherproofing: If you’re installing the charger on your driveway in Holtsville rather than inside a garage, you need to check the NEMA rating. A NEMA 3R rating is standard for rain and snow, but a NEMA 4 rating offers superior watertightness against wind-blown dust and ice.
For a deeper dive into specific models, check out this guide on How to find the best home EV charger.
| Feature | Level 1 Charger | Level 2 Charger |
|---|---|---|
| Voltage | 120V (Standard Outlet) | 240V (Heavy Duty) |
| Amperage | 12-16 Amps | 16-80 Amps (Typical 40A) |
| Charging Speed | 3-5 miles per hour | 12-60 miles per hour |
| Installation | Plug & Play | Professional Required |
| Best For | Hybrids / Low Mileage | All EVs / Daily Commuters |
Step 3: Navigating Permits for EV charger installation
We know, we know—nobody likes paperwork. But when it comes to EV charger installation, permits are your best friend. In New York, and specifically across Long Island, an electrical permit is a legal requirement. It’s not just a "suggestion" from the town; it’s a critical safety record.

By hiring a Licensed Electrical Contractor (LEC), you ensure that the person working on your home has the proper insurance and training. You can Find a Licensed Electrical Contractor Near You to verify their credentials.
Why does this matter?
- Safety: A permit triggers an inspection. An independent inspector will verify that our work meets the National Electrical Code (NEC).
- Insurance: If you have an electrical fire and the insurance company finds out you installed a high-voltage charger without a permit, they might deny your claim.
- Resale Value: When you go to sell your home, savvy buyers (and their home inspectors) will want to see the "Certificate of Acceptance" for any major electrical work.
At Zion Electric Inc., we handle the permit process for you as part of our specialty services. We also make sure every piece of equipment we install carries a recognized safety certification mark. This ensures the charger has been independently tested to prevent shocks, fires, and damage to your vehicle's expensive battery.
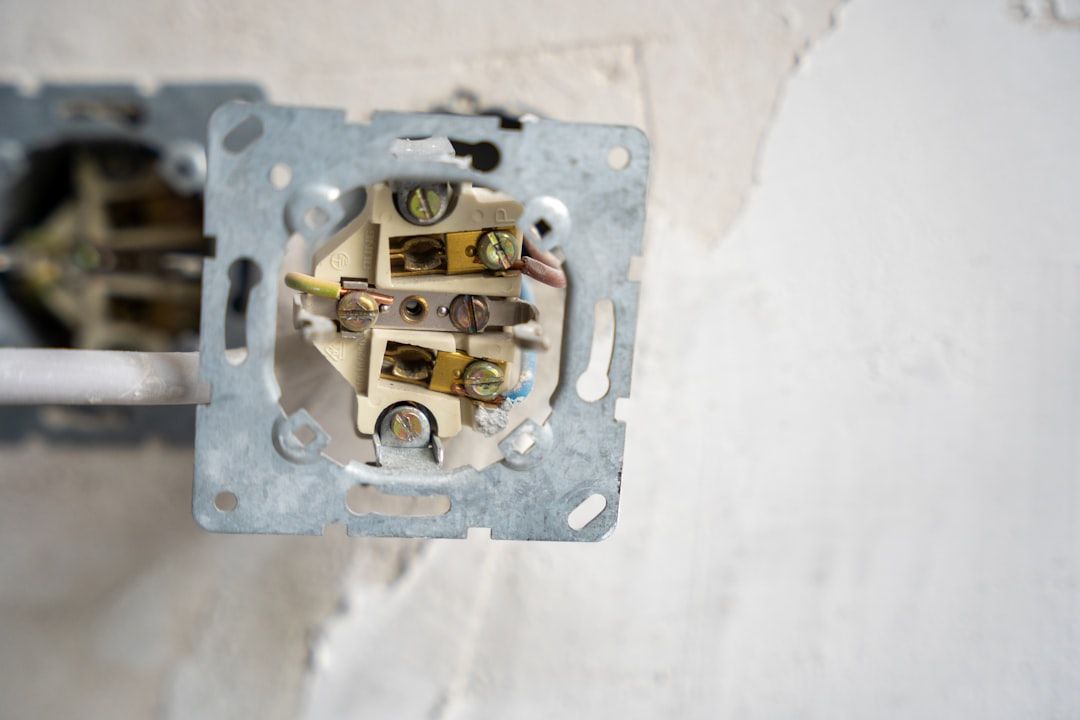
Steps 4 & 5: Professional Wiring and Final Inspection
Now we get into the "nitty-gritty" of the EV charger installation. This is where the heavy-duty wiring happens. We typically use #6 AWG copper wiring for a 50-amp circuit. This wire is thick, sturdy, and capable of carrying high current for hours on end without overheating.
We also pay close attention to torque specifications. High-voltage connections can loosen over time due to thermal expansion (the wire getting warm and cold). If those connections aren't tightened to the exact inch-pound specified by the manufacturer, they can create "hot spots" and eventually melt.
Step 4: Hardwired vs. Plug-in Installation
You have two main choices for how the charger connects to your home:
The Plug-in Option (NEMA 14-50): This involves installing a heavy-duty 240V outlet (like the one for a laundry dryer). You then plug your charger into it.
- Pros: If the charger breaks, you can just unplug it and send it back. If you move, you can take the charger with you.
- Cons: You are limited to 40 amps of charging (on a 50A circuit). You also need a GFCI breaker, which can sometimes cause "nuisance tripping" with certain EV models.
The Hardwired Option: This is where we run the wire directly into the charging unit itself.
- Pros: This is the hardwired benefits gold standard. It allows for faster charging (up to 48A or 80A), looks much cleaner, and is more weather-resistant for outdoor installations.
- Cons: It’s permanent. If you want to take it with you, we’ll have to come back and safely disconnect it.
Step 5: Passing Inspection and Claiming Rebates
After the wiring is complete and we’ve tested the unit to ensure it’s delivering the right voltage, we schedule the final inspection. Once the inspector gives the "thumbs up," you’ll receive your Certificate of Acceptance. Keep this document safe!
Now, let’s talk about getting some of your money back. There are several programs available to Long Island residents that can significantly lower the cost of EV charger installation:
- NYS Alternative Fuels & EV Charging Credit: New York State offers a tax credit for 50% of the cost of the hardware and installation, up to $1,000. You can find details here: NYS Alternative Fuels & EV Charging Credit.
- Federal iZEV/30C Credit: While the Federal iZEV program is often cited for vehicle purchases, the U.S. federal government also offers tax credits for charging infrastructure in certain census tracts.
- PSEG Long Island Make Ready: PSEG offers various incentives for "Make Ready" infrastructure, especially for multi-family dwellings and businesses.
By the time we’re done, not only will you have a faster, safer way to fuel your car, but you’ll also likely see an increase in your property value. As more people switch to EVs, a home with a pre-installed Level 2 charger becomes much more attractive to buyers.
Frequently Asked Questions about EV Charging
How long does a Level 2 charging session typically take?
The short answer is 4 to 8 hours. However, it depends on two things: how big your battery is and how empty it was when you started.
Think of your battery like a bucket. A small bucket (a Plug-in Hybrid) fills up fast, while a giant bucket (a Tesla Model S or Rivian) takes longer. Also, EVs have a "charging curve." They charge very fast when they are nearly empty, but as they reach 80% capacity, the car tells the charger to slow down to protect the battery’s health. It’s like pouring water into a glass—you pour fast at first, but you slow down at the very top so you don't spill!
Can I perform a DIY EV charger installation?
We strongly recommend against this. While you might be handy with a drill, EV charger installation involves high-voltage electricity that runs at maximum capacity for hours. A small mistake—like using the wrong wire gauge or not tightening a terminal correctly—can lead to a fire. Furthermore, without a permit and a licensed professional, you may void your car's warranty and your home insurance. For your safety and peace of mind, always choose Professional vs. DIY EV charger installation.
What are the requirements for EV charging in condos or MURBs?
Installing a charger in a Multi-Unit Residential Building (MURB) is a bit more complex. You usually need to submit a formal application to your condo board or property manager. They will want to see drawings, specifications, and proof that the installation won't affect the building's structural integrity or health and safety.
While specific laws like The Condo Act are often cited in general guides, the process in Long Island involves working closely with your HOA. We recommend checking out this Guide to EV Charging in Multi-Unit Residential Buildings for a general framework on how to approach your board.
Conclusion
Switching to an electric vehicle is an exciting step toward a cleaner, more cost-effective future. But the secret to a happy EV ownership experience is a reliable, fast, and safe home charging setup.
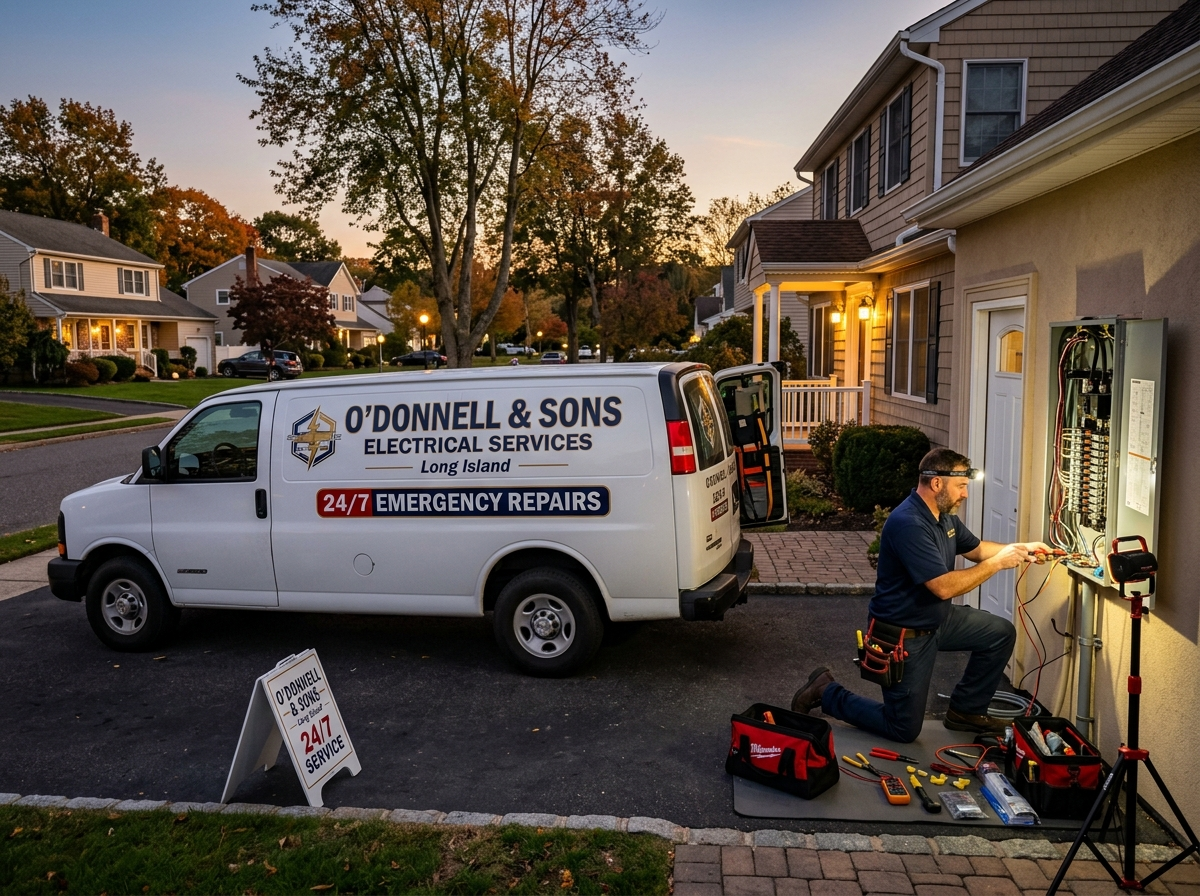
At Zion Electric Inc., we’ve been serving the Long Island and Holtsville communities for over 30 years. As a family-owned business, we treat every home as if it were our own, ensuring that your EV charger installation is handled with the highest level of workmanship and clear communication. Whether you need a simple wall-mount in your garage or a complex service upgrade to power a fleet of vehicles, our team is ready to help 24/7.
Don't leave your high-tech vehicle's safety to chance. Schedule your professional EV charger installation today and wake up every morning with a full "tank" and the peace of mind that comes with a Zion Electric installation.