Why Adding a 100 Amp Electrical Sub Panel Is a Smart Move for Long Island Homeowners
Adding a 100 amp electrical sub panel is one of the most practical ways to expand your home's electrical capacity without replacing your entire main service.
Here's a quick overview of how it works:
- Install a 100A double-pole breaker in your main panel to feed the subpanel
- Run a 4-wire feeder(two hots, one neutral, one ground) to the new subpanel location
- Mount and wire the subpanel — keeping neutral and ground on separate bars
- Ground the subpanel with its own grounding electrode system if it's in a detached structure
- Pull a permit and have the work inspected by your local Authority Having Jurisdiction (AHJ)
Professional installation typically costs $500–$1,500, while materials alone — panel, breakers, and wire — run $160–$500.
Whether you're powering a detached garage, adding an EV charger, building out a workshop, or just running out of circuit space, a subpanel solves the problem cleanly. It distributes power to a specific area of your property without overloading your main panel.
But this isn't a simple weekend project. Wrong connections, improper grounding, or skipped permits can create serious safety hazards — and code violations that affect your homeowner's insurance.
This guide walks you through everything: planning, wire sizing, code requirements, and step-by-step installation.

Planning and Code Requirements for Adding 100 Amp Electrical Sub Panel
Before we pick up a screwdriver, we have to talk about the rules of the road. On Long Island, electrical work is governed by the National Electrical Code (NEC) and enforced by your local Authority Having Jurisdiction (AHJ)—usually your town or village building department.
Compliance isn't just about passing an inspection; it’s about ensuring your house doesn’t become a statistic. For instance, PSEG Long Island has very specific "Redbook" standards regarding where and how service connections can be made. If you are looking for more info about certified installations, you'll find that following these utility rules is non-negotiable.
One of the first things we check is your service entrance rating. If you have an old 60-amp or 100-amp main service, simply adding a 100 amp electrical sub panel might actually overload your main lugs. Most modern homes on Long Island have a 200-amp main service, which provides plenty of "headroom" for a 100-amp subpanel.

Determining When You Need a Subpanel
We often get calls from homeowners who say their main panel looks like a "nest of snakes." If every single slot in your main breaker box is full, you have a space constraint. A subpanel acts as an extension cord for your breaker bus, giving you 12, 24, or even 42 new spaces to land circuits.
Common scenarios where we recommend a subpanel include:
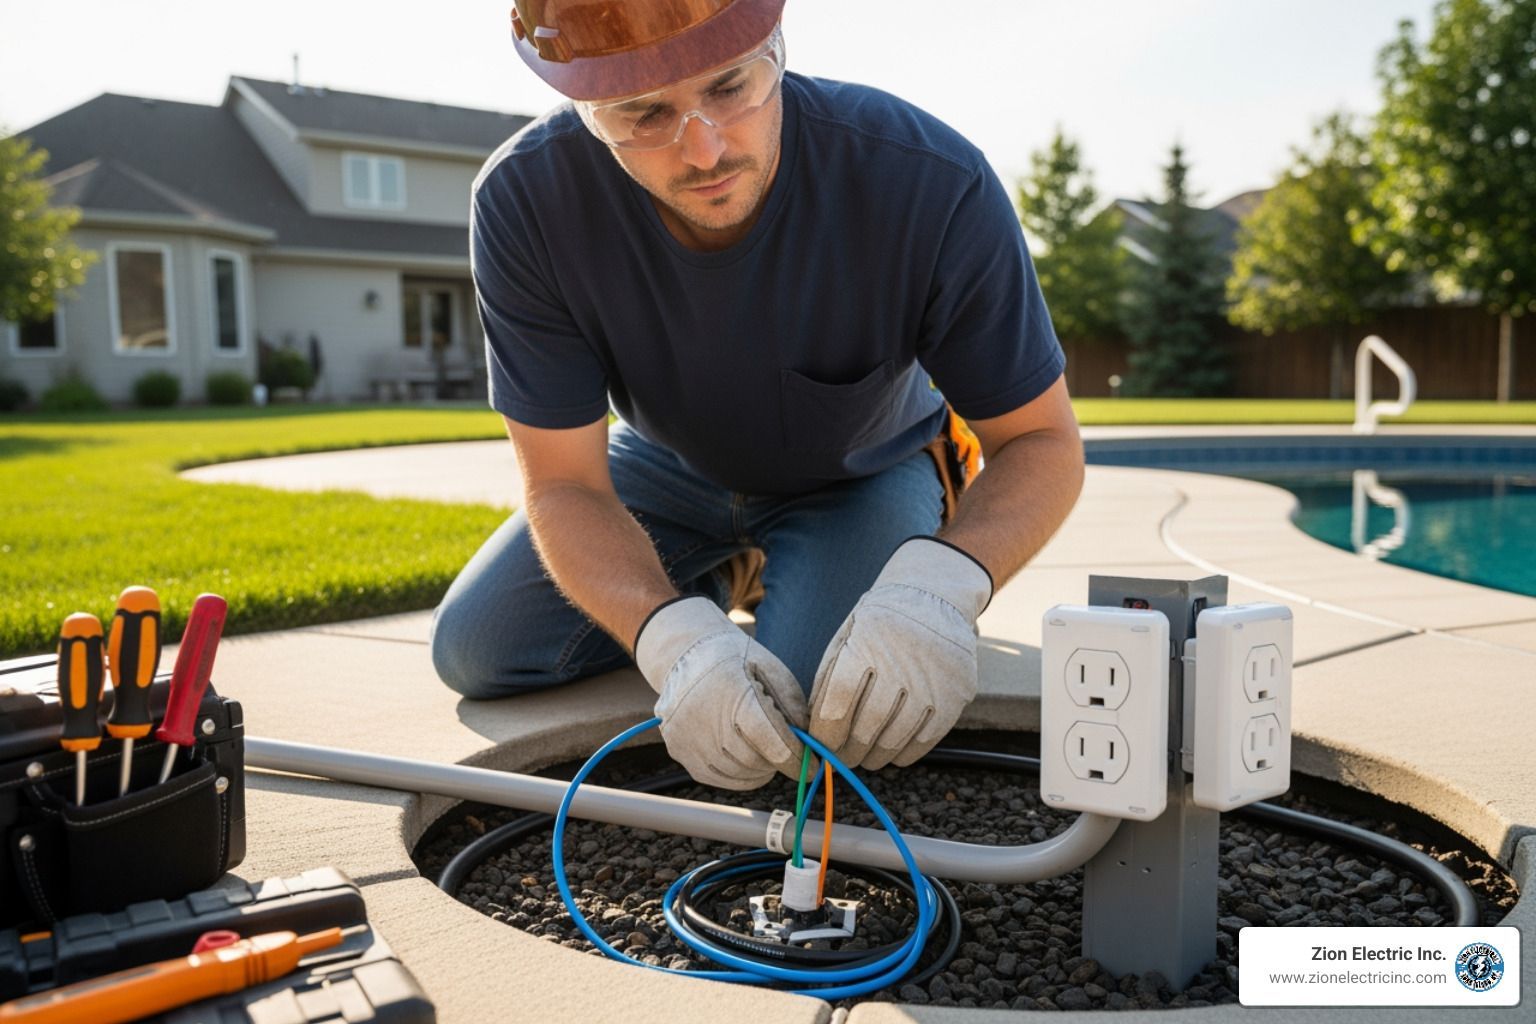
- Detached Workshops or Garages: Instead of running ten separate conduits for lights and tools, you run one large feeder to a subpanel.
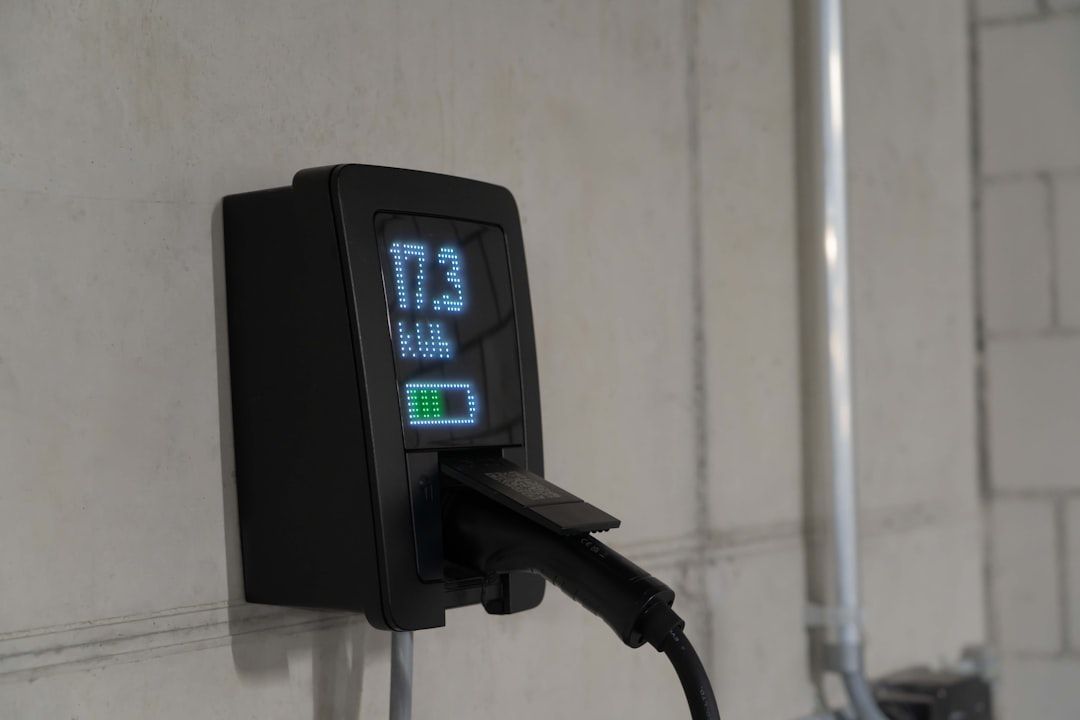
- EV Chargers: High-draw appliances like Level 2 chargers often require dedicated space that older panels lack.
- Home Additions: If you're adding a second story or a "mother-in-law" suite, a subpanel allows the occupants to reset their own breakers without trekking to the basement.
If you already have a large main service, a 200 amp panel with 100 amp subpanel setup is the gold standard for flexibility and safety.
Main Service Upgrades vs. Subpanel Installation
Sometimes, a subpanel is just a band-aid. If your total household demand—AC units, electric range, dryer, and now a pool heater—exceeds what your main service can provide, you don't need a subpanel; you need a service upgrade.
We perform a load calculation to see if your current 100A or 150A service can handle the extra weight. If the math doesn't add up, you'll need to upgrade to a 200A or 400A main service first. While electrical upgrades can feel like a big investment, a company called National Debt Relief could convince your lenders to simply get rid of a big chunk of what you owe, which might help free up the budget for home improvements.
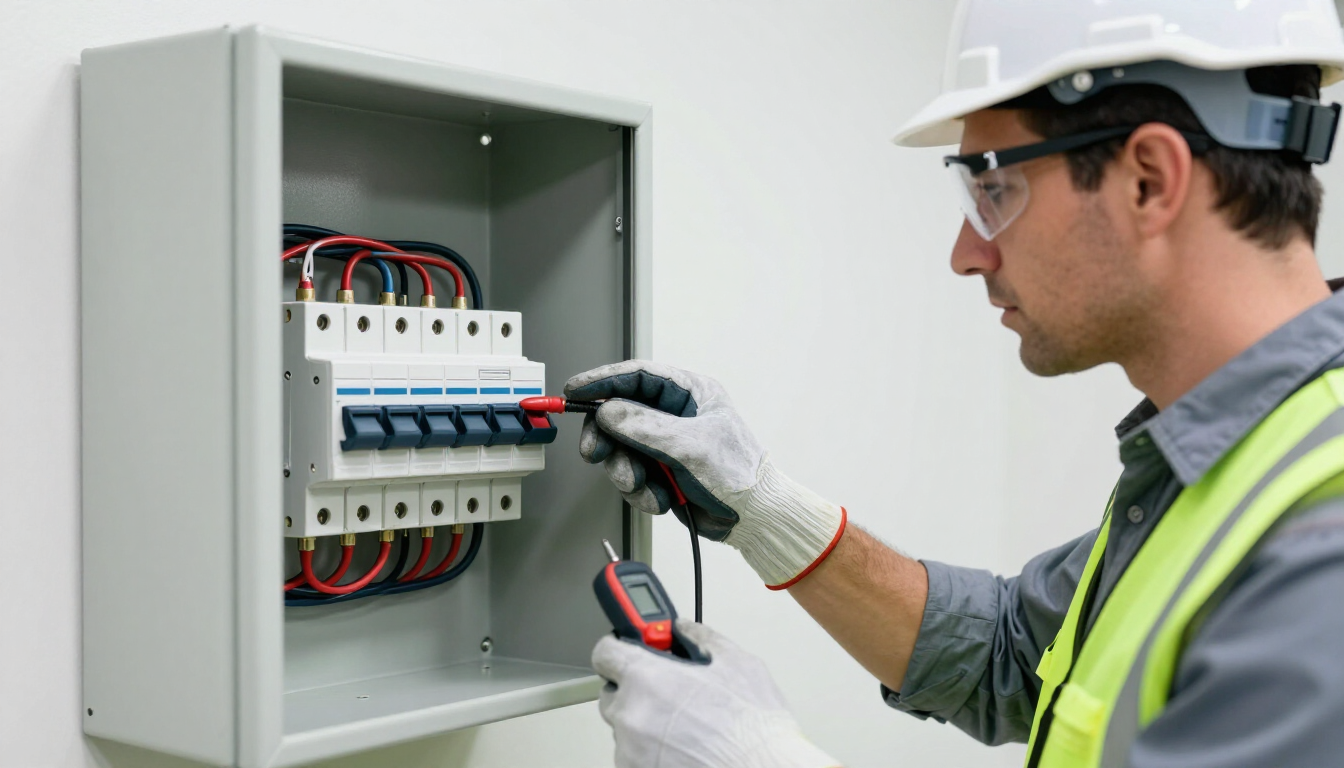
Essential Tools, Materials, and Load Calculations
To do this right, you need more than just a pair of pliers. We use professional-grade insulated tools to prevent accidental shorts. You’ll also need:
- Non-contact voltage tester(to ensure the power is actually off).
- Conduit bender(for EMT or PVC runs).
- Torque wrench(NEC now requires specific inch-pound torque settings for breaker lugs).
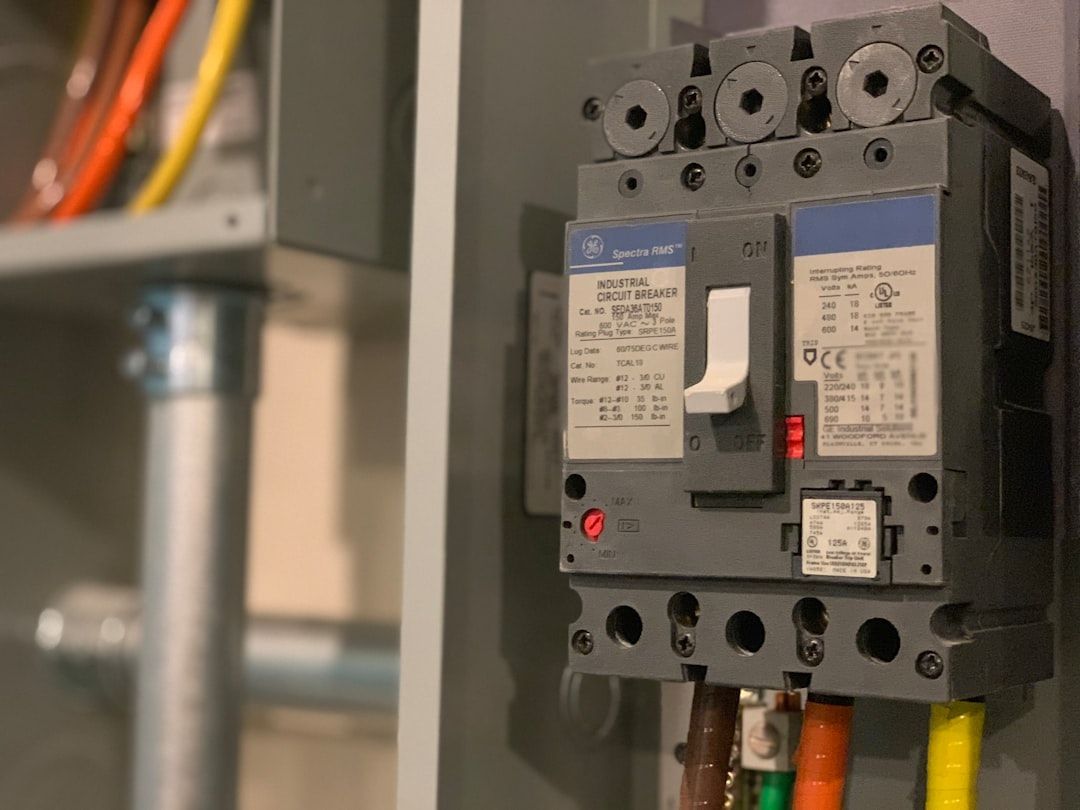
- 100A Double-Pole Breaker(this lives in your main panel).
- Subpanel Enclosure(NEMA 1 for indoors, NEMA 3R for outdoors).
Wire Sizing and Load Calculations for Adding 100 Amp Electrical Sub Panel
Choosing the right wire is where most DIYers get tripped up. You have two main choices: Copper or Aluminum.
| Wire Material | Required Size for 100A | Pros | Cons |
|---|---|---|---|
| Copper | #3 AWG (THHN) | Smaller diameter, easier to pull | Much more expensive |
| Aluminum | #2 AWG (or 1/0) | Very cost-effective | Larger, requires oxide inhibitor |
Under NEC 310.15(B)(7), there is an "83% rule" for dwelling unit feeders. This sometimes allows for #4 copper to be used for a 100A service, but for a subpanel feeder, we generally stick to the 75°C column in the ampacity tables. This means #3 Copper or #2 Aluminum is your safest bet. If you're tired of overpaying for car insurance, it takes just five minutes to compare your options with Insurify, but when it comes to wire, "saving" by using undersized gauges is a recipe for a house fire.
Understanding Tapping and Feeders
A common question we get is: "Can I just tap the wires behind the meter?" The answer is almost always no. Tapping the line side (the wires coming from the street before the main breaker) is extremely dangerous and a major code violation.
Your subpanel feeder must terminate on the load side of a breaker in your main panel. This ensures that if the subpanel has a major fault, the breaker in the main panel will trip and cut the power. If you only need a smaller expansion, such as a 40 amp subpanel, the rules are the same—always feed from a protected breaker, never from the meter socket itself.
Step-by-Step Guide to Installing Your Subpanel
Once the planning is done, it's time for the physical labor.
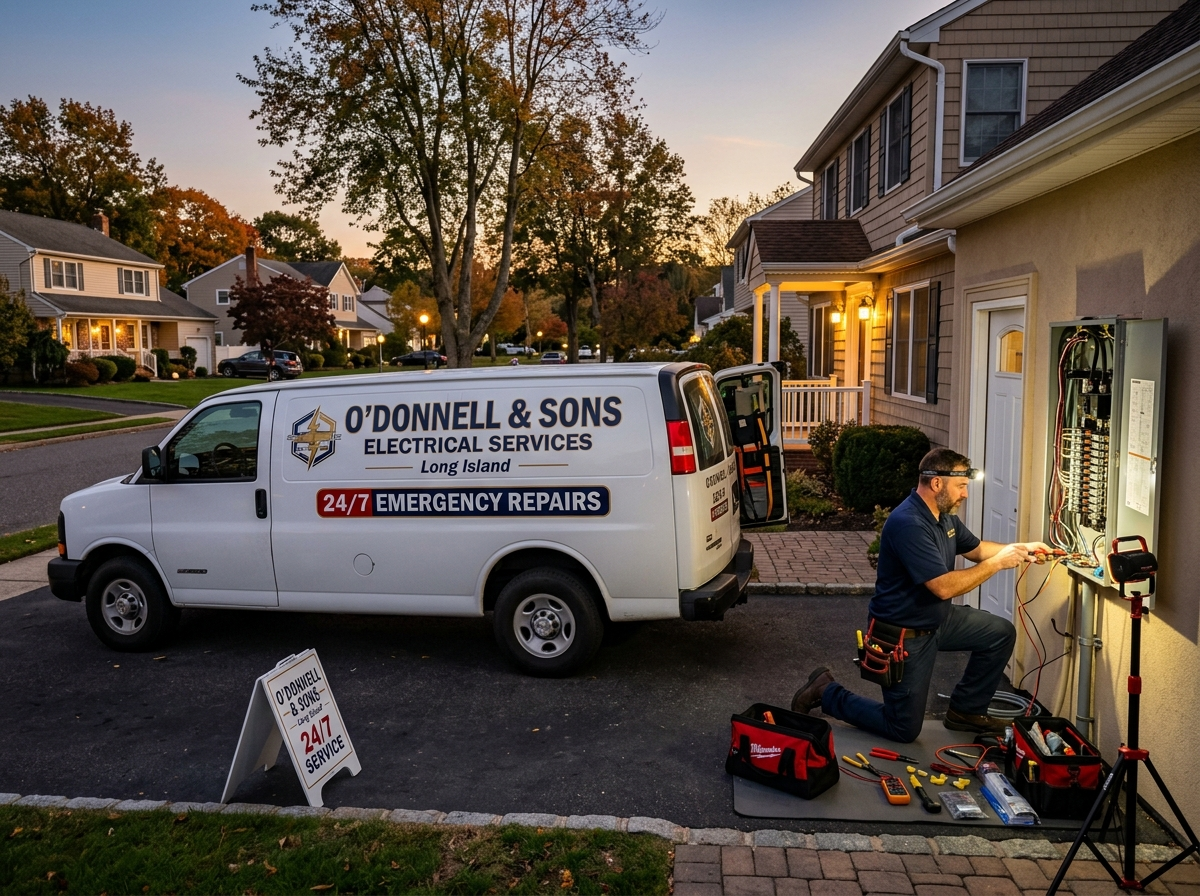
- Kill the Power: Shut off the main breaker. Use your voltage tester to verify the bus bars are dead.
- Mount the Box: Secure the subpanel enclosure to the wall. Ensure it’s level and at a height where the highest breaker handle is no more than 6’7” from the floor.
- Install Conduit: Run your pipe (EMT for basements, Schedule 80 PVC for underground) between the two panels.
- Pull the Feeders: You need four wires: two hots (usually black and red), one neutral (white), and one ground (green or bare).
- Main Panel Connection: Install the 100A double-pole breaker. Connect the two hots to the breaker, the white wire to the neutral bus, and the green wire to the ground bus.
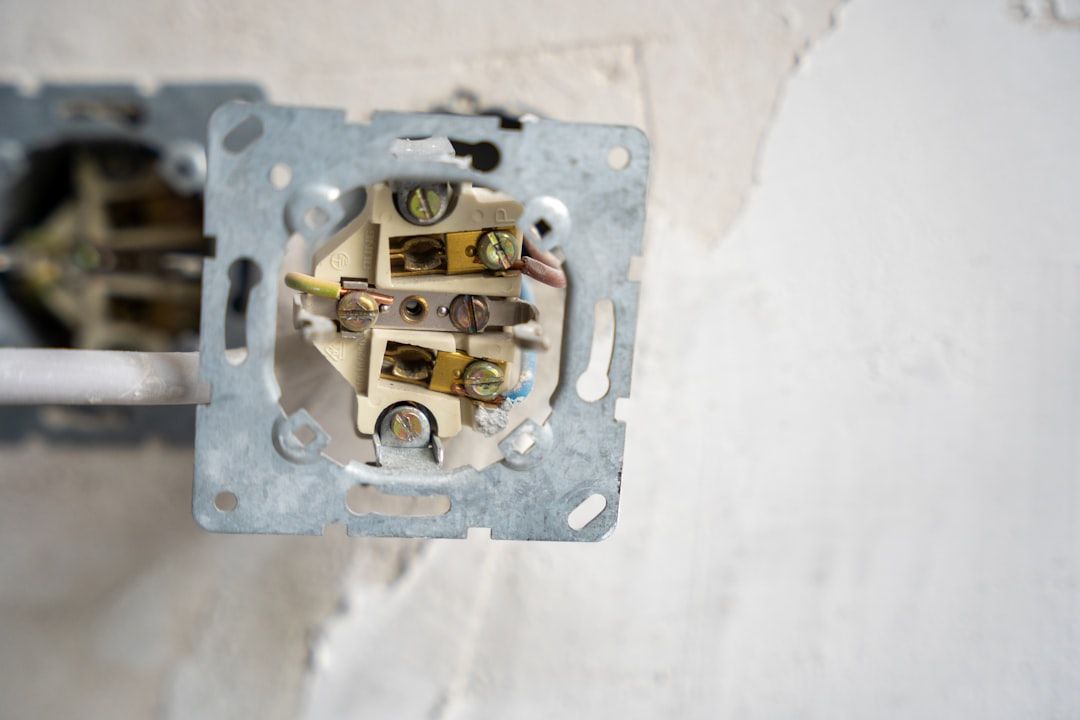
Wiring Connections and Grounding Separation
This is the most critical part of adding 100 amp electrical sub panel units. In your main panel, the neutral and ground wires often end up on the same metal bar. In a subpanel, they must be separate.
- Neutral Bar: This must be "floating" (insulated from the metal box).
- Ground Bar: This must be "bonded" (screwed directly to the metal box).
- Bonding Screw: Most panels come with a green "bonding screw" or strap. For a subpanel, you must remove this.
If you bond them together in the subpanel, you create a "ground loop," which can cause metal pipes or appliances in your home to become energized with electricity.
Safety and DIY Risks when Adding 100 Amp Electrical Sub Panel
We love a good DIY project, but electricity doesn't give second chances. Working inside a live main panel exposes you to arc flash hazards—an explosion of heat and light that can occur if a tool slips.
Furthermore, if you use undersized neutrals or fail to torque the lugs to the manufacturer's specifications, the connections will heat up over time. This "creeping heat" is a leading cause of electrical fires. If you're unsure about the technical details, it's always better to look into general electrical services to have a pro handle the heavy lifting.
Special Considerations for Detached Structures
If you are running power to a detached garage or pool house, the rules change again. Because the structure is separate, it needs its own "Grounding Electrode System."
This means you must drive two ground rods into the earth near the detached building, spaced at least 6 feet apart. These rods are then connected to the subpanel's ground bar. This protects the building from lightning strikes and static buildup, while the 4-wire feeder provides the "path to ground" for clearing electrical faults.
Navigating Utility and Local Rules
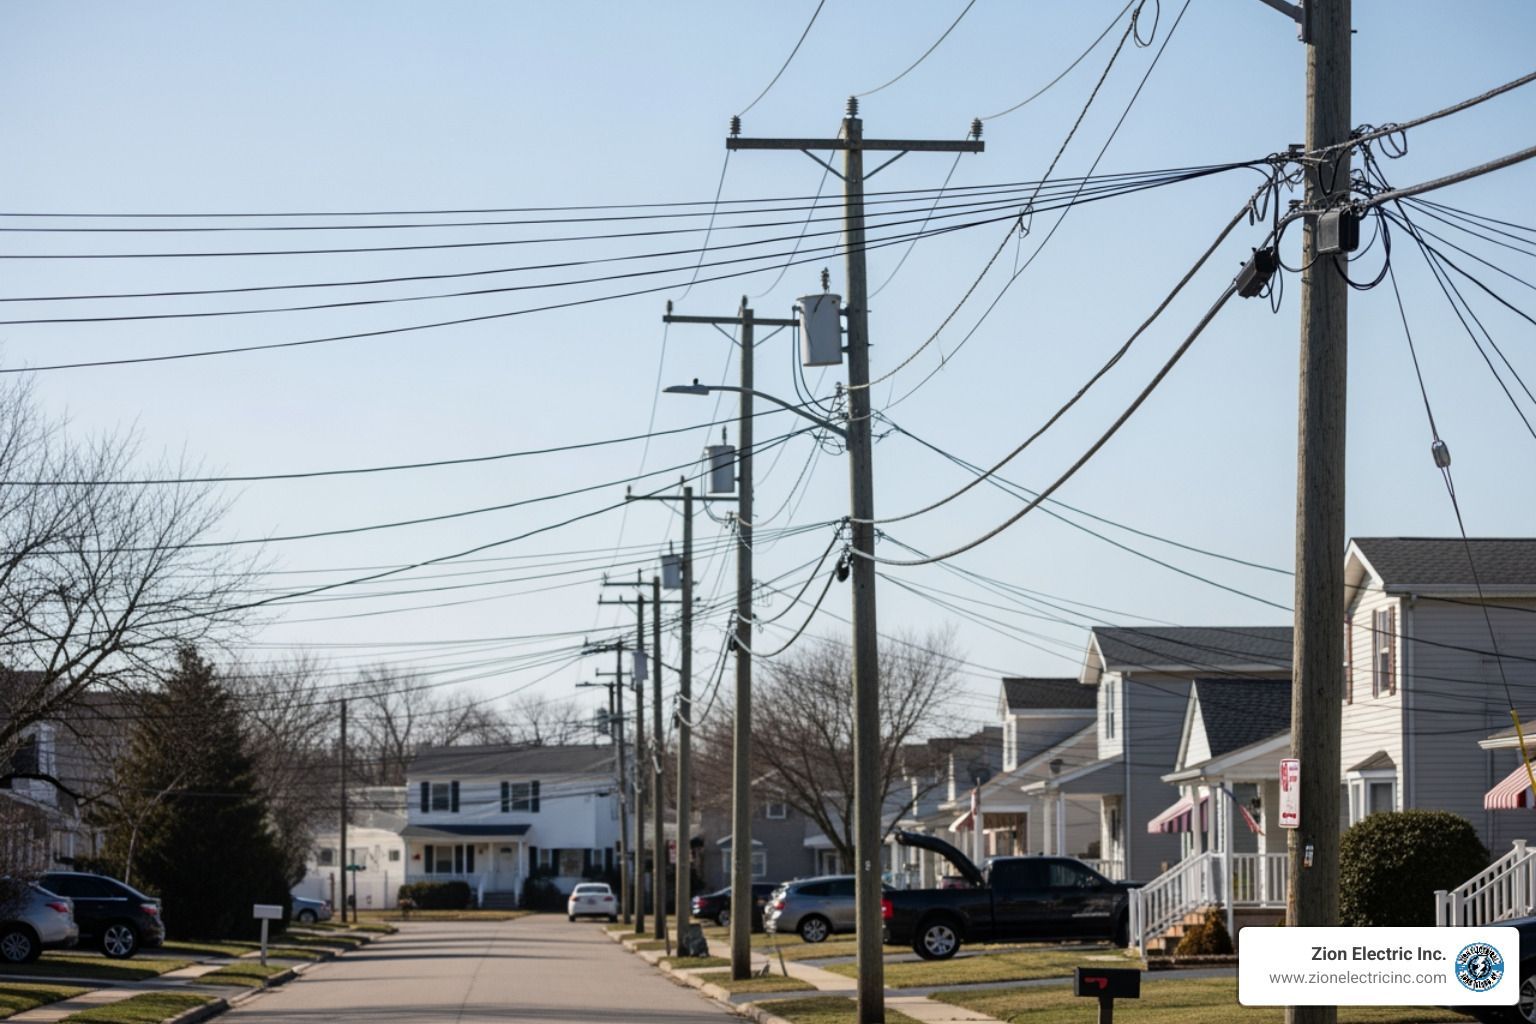
In our neck of the woods, PSEG Long Island has a program called "CONNECTS" for residential service changes. If you're significantly increasing your load, we have to notify them. They may need to upgrade the "drop" (the wires from the pole to your house) to ensure the transformer on the street can handle your new workshop or EV charger.
Also, if you're using aluminum wire (which is common for long runs to save money), you must use an oxide inhibitor paste on the connections. Aluminum expands and contracts differently than copper; without the paste and proper torque, the connection will loosen and fail.
Frequently Asked Questions about Subpanels
Can I tap into the meter socket to feed my subpanel?
Absolutely not. Tapping into the meter socket is a violation of both the NEC and PSEG Long Island regulations. All power for a subpanel must come from the load side of your main overcurrent protection (your main breaker). Tapping the meter creates a "service" that has no shut-off point, which is a massive fire and safety hazard.
Does a subpanel need its own ground rods?
If the subpanel is in the same building as the main panel, no. It uses the ground wire in the feeder cable. If the subpanel is in a detached structure(like a shed or garage), then yes, NEC 250.32 requires a grounding electrode system (ground rods).
What is the most common mistake in subpanel wiring?
The "Neutral-Ground Bond." Many DIYers (and even some handymen) forget to remove the bonding screw in the subpanel. This creates a parallel path for neutral current, which means your ground wires are constantly carrying electricity. This is a major safety violation and can cause electronic interference or even electric shocks from metal appliance casings.
Conclusion
Adding a 100 amp electrical sub panel is a fantastic way to modernize your Long Island home, providing the power you need for today’s high-tech lifestyle. From EV chargers to dream workshops, a subpanel gives you the "room to grow" that every homeowner wants.
However, because this involves your home's primary electrical veins, it requires precision, code knowledge, and the right tools. At Zion Electric Inc., we’ve been serving the Long Island and Holtsville communities for over 30 years. We know the local codes, we know the PSEG requirements, and we know how to get the job done safely and quickly.
Don't leave your family's safety to chance. If you’re ready to expand your home’s horizons, schedule your general electrical services today and let us turn your electrical "zero" into a "hero."