Why Connecting a Subpanel to Your Main Panel Matters
Adding a 200 amp panel with a 100 amp subpanel is a common and effective way to expand your home's electrical capacity. Whether you're adding a workshop, a home office, or simply need more circuits, a subpanel provides the necessary space and power.
Quick Answer: Can You Connect a 100A Subpanel to a 200A Main Panel?
Yes, you can safely connect a 100 amp subpanel to a 200 amp main panel. This setup is code-compliant, provided you follow these key requirements:
- A 100-amp double-pole breaker installed in your main panel.
- A 4-wire feeder circuit(2 hot, 1 neutral, 1 ground).
- Properly sized wire(e.g., 3 AWG copper or 1 AWG aluminum).
- Separate ground and neutral bars in the subpanel.
- The bonding jumper must be removed in the subpanel.
While installing a subpanel is a feasible project, doing it safely and correctly is critical. Common mistakes involve incorrect load calculations, improper wire sizing, and misunderstanding grounding requirements. As one electrician noted, "You can put a dozen 100 amp panels on a 200 amp service; it's all about the total calculated load, not just the breaker sizes." This guide will walk you through the essential steps, from planning to final connections, ensuring your installation is safe and up to code.
Step 1: Planning Your Subpanel Installation
Before starting, a solid plan is essential. This involves assessing your current electrical usage, checking your main panel's capacity, and mapping out the physical installation. This ensures your new 200 amp panel with 100 amp subpanel integrates seamlessly and safely.

Why a Load Calculation is Non-Negotiable
How does the load calculation for the entire house affect the decision to add a 100 amp subpanel?
Adding a subpanel isn't just about finding space; it's about ensuring your entire electrical system can handle the increased demand. A thorough load calculation, following NEC Article 220, is required to determine your home's total electrical demand.
This calculation considers:
- Existing Loads: All current lights, outlets, and appliances.
- Gas vs. Electric Appliances: Electric appliances for heating, cooking, and water draw significantly more power.
- Future Electrical Needs: Plans for an EV charger, hot tub, or workshop with heavy machinery must be included.
- Avoiding Main Breaker Trips: The goal is to ensure the total load doesn't exceed your 200-amp service capacity, preventing overloads and nuisance tripping.
A proper load calculation ensures your system has sufficient capacity, preventing safety hazards. It's not just about what the subpanel can handle, but what your main service can provide.
Checking Your Main Panel for Space
Are there any limitations on the number of slots available in the main panel when adding a subpanel breaker?
Yes. A 100-amp subpanel requires a 100-amp double-pole breaker, which occupies two full-size slots in your main panel.
- Physical Breaker Slots: Check if your main panel has two adjacent, available slots.
- Panel Bus Rating: Ensure the new breaker is compatible with your panel's brand and bus bar rating.
- Tandem Breakers vs. Double-Pole Breakers: A 240-volt subpanel feeder requires a full-size double-pole breaker. Tandem breakers, which provide two 120-volt circuits from the same phase, cannot be used for this purpose.
- Can existing breakers be combined to free up space? Sometimes, two 120V circuits can be consolidated onto a single tandem breaker (if the panel allows it) to free up a slot. However, this is not always possible or advisable.
For more detailed advice on making space and ensuring compatibility, you can refer to discussions like this one: Need advice on connecting 100 amp sub-panel to 200 amp main panel.
What are the considerations for the distance between the main panel and the subpanel?
Distance is crucial. The longer the wire run, the greater the voltage drop, which can cause appliances to run inefficiently or overheat. This may require using a larger gauge wire than specified by ampacity alone. For example, a 70-80 foot run for a 100-amp subpanel might require 3 AWG copper or 1 AWG aluminum wire. We use specialized calculators to determine the optimal wire size based on distance and load.
Step 2: Gathering the Right Materials and Tools
With a solid plan, it's time to gather your materials. Using the correct components is crucial for a safe and compliant 200 amp panel with 100 amp subpanel installation.
Choosing Your Feeder Wire: Copper vs. Aluminum
What is the proper wire size and type for a 100 amp subpanel feed? The feeder wire is the lifeline from your main panel, requiring 4 wires: two hot, one neutral, and one ground.
| Wire Type | Gauge/AWG | Cost | Flexibility | Anti-oxidant Needs | Notes |
|---|---|---|---|---|---|
| Copper | 3 AWG (hots/neutral) | Higher | Good | No | Excellent conductivity, robust. Recommended for DIYers due to ease of use. For the equipment ground, 8 AWG copper is typically used. |
| Aluminum | 1 AWG (hots/neutral) | Lower | Stiffer | Required | Cost-effective for longer runs. Requires anti-oxidant paste (No-Alox) on all terminal connections to prevent oxidation and ensure good contact. For the equipment ground, 6 AWG aluminum is typically used. While aluminum branch circuit wiring had issues in the past, feeder cables (like SER) are safe when installed correctly. |
| SER Cable | (e.g., 2-2-2-4 AL) | Moderate | Good | Required (AL) | Service Entrance Round (SER) cable is a common choice for feeders. It bundles all four conductors (2 hot, 1 neutral, 1 ground) in a single jacket. For 100 amps, 2-2-2-4 Aluminum SER is often used, though technically rated for 75A, many inspectors permit it for 100A due to favorable derating rules. - |
Note: Always verify current NEC (National Electrical Code) requirements and local amendments for your specific installation, as codes can vary.
Selecting the Right Subpanel for Your Needs
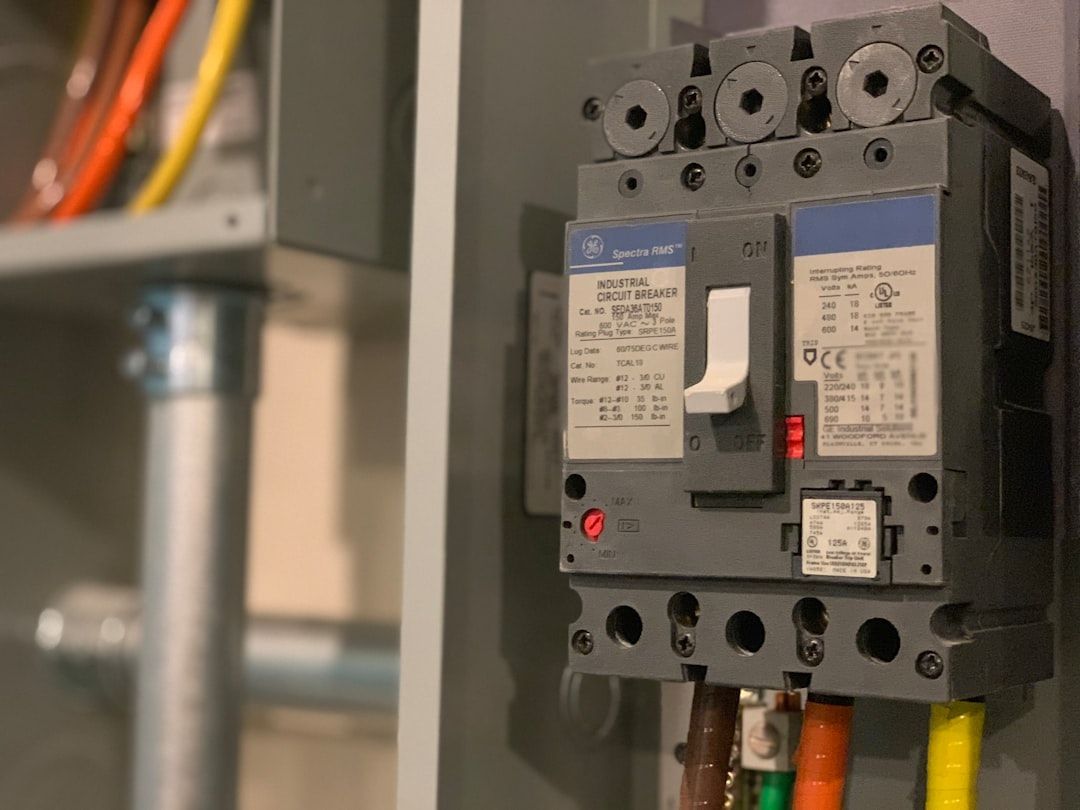
What type of breaker should be used to connect a 100 amp subpanel to a 200 amp main panel? And what are the differences between a main breaker and a main lug panel when used as a subpanel?
You'll need a 100-amp double-pole breaker in your main panel. For the subpanel itself, you have two main options:
- Main Lug Only (MLO) Panels: These have connection points (lugs) for the incoming wires but no main breaker inside the subpanel. The 100-amp breaker in your main panel provides the overcurrent protection.
- Main Breaker (MB) Panels: These include a main breaker within the subpanel. This breaker acts as a convenient local disconnect switch, while the 100-amp breaker in the main panel still provides the primary overcurrent protection for the feeder wires.
Can a 200 amp panel be used with a 100 amp breaker for a subpanel feed?
Yes, this is a common and safe practice. The 100-amp breaker in the main panel protects the feeder wires. The subpanel's higher rating (e.g., 200 amps) simply means its internal components can handle more current than they will receive, which is perfectly acceptable according to the National Electrical Code (NEC 408.36). Using an oversized panel often provides more space for future circuits.
For more on proper wiring techniques, visit our certified installations page.
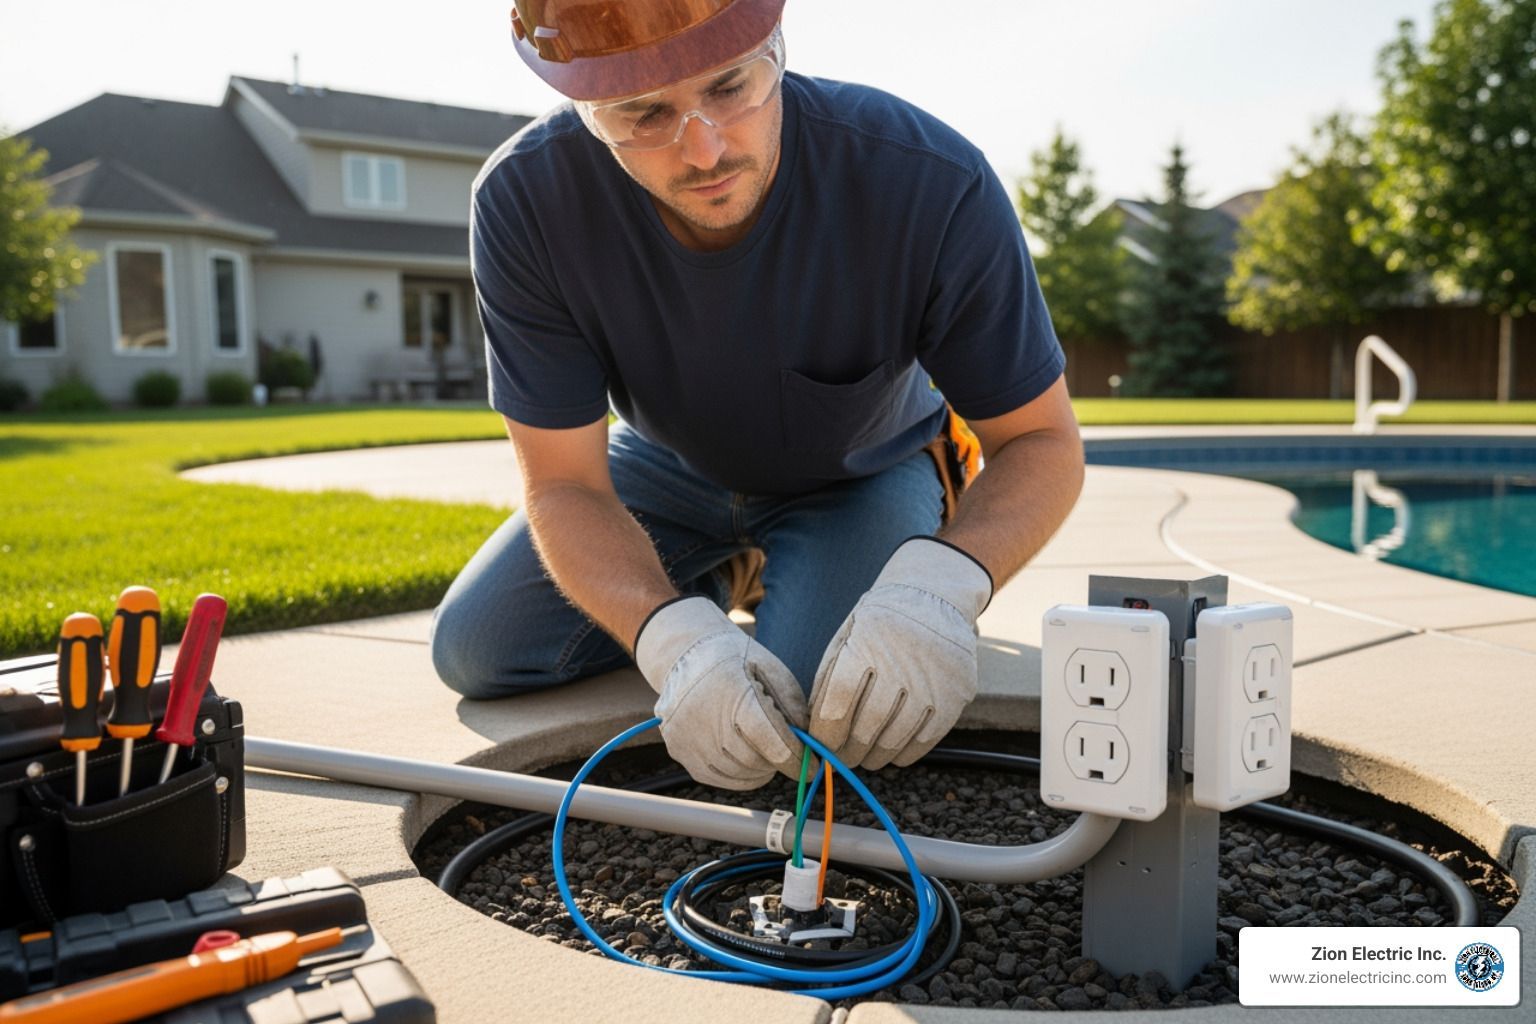
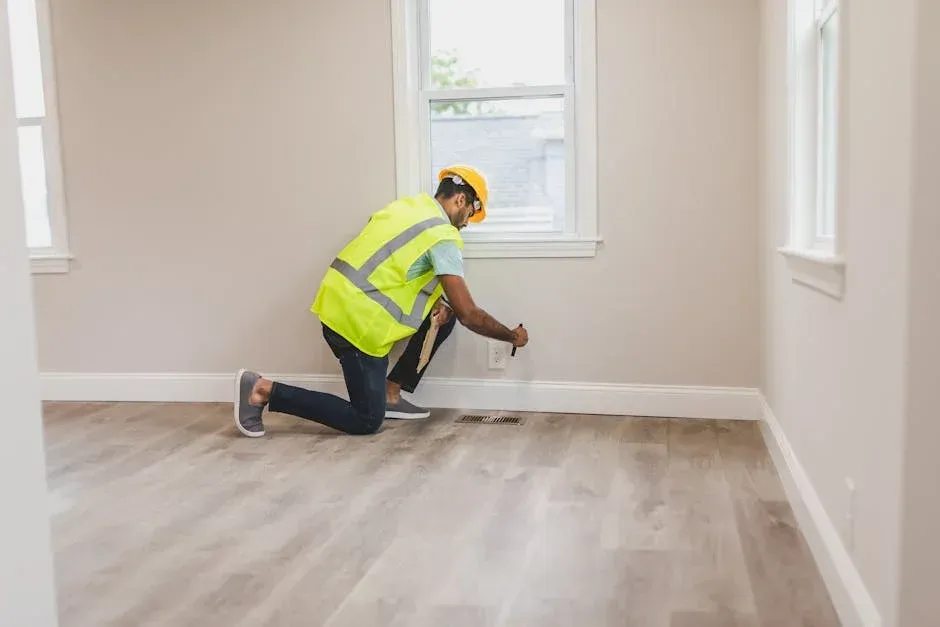
Step 3: Installing Your 200 amp panel with 100 amp subpanel Feeder
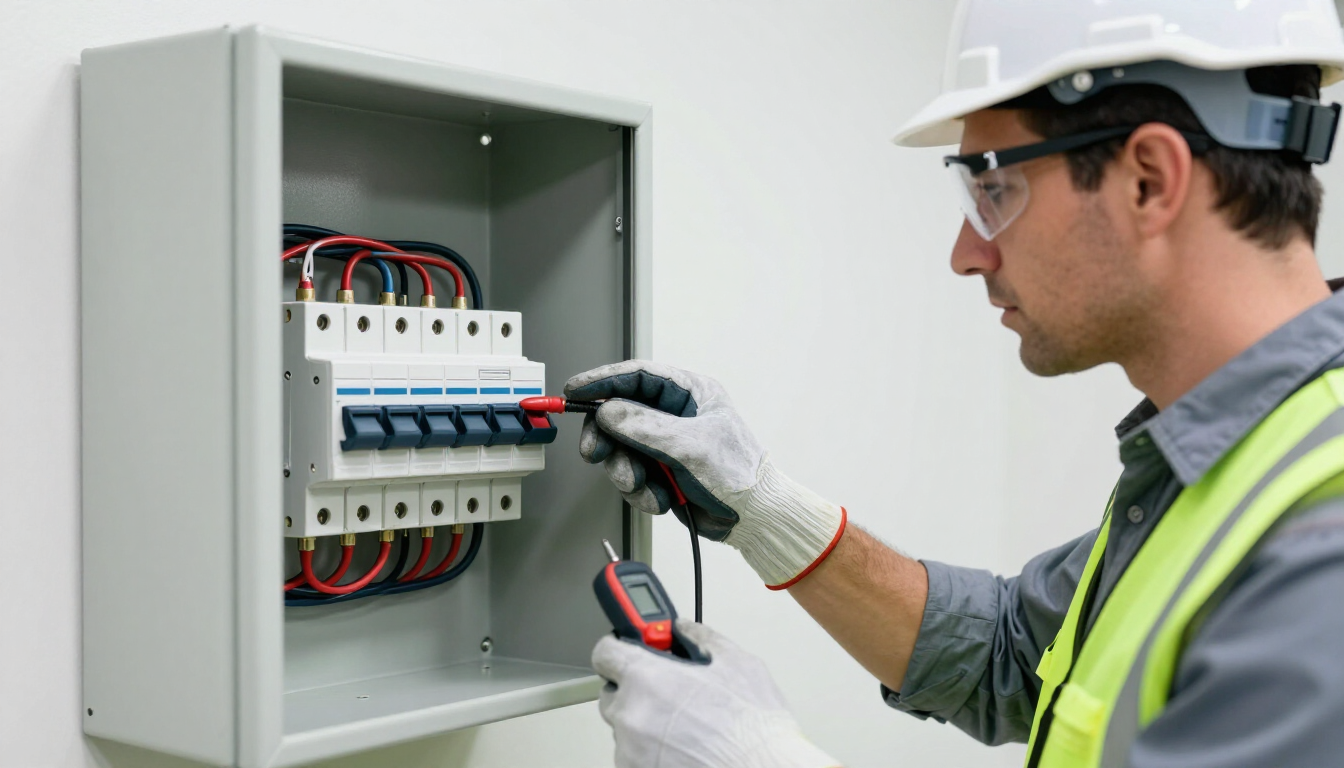
With your plan and materials ready, it's time for the installation. Safety is paramount: always turn off the main breaker and verify the power is off with a voltage tester before working inside any electrical panel.
Connecting the Feeder to the Main Panel
- Install the 100A Feeder Breaker: In your 200-amp main panel, snap the new 100-amp double-pole breaker into two available, adjacent slots.
- Run the Feeder Cable: Route the 4-wire feeder cable from the main panel to the subpanel location. Secure it with appropriate staples or clamps every 4.5 feet and within 12 inches of each panel, as per code.
- Make Connections in the Main Panel:
- Connect the two hot wires to the 100-amp breaker.
- Connect the neutral wire to the main neutral bus bar.
- Connect the ground wire to the main ground bus bar.
- If using aluminum wire, apply anti-oxidant paste to all connections.
- Torque all connections to the manufacturer's specifications to prevent loose, hazardous connections.
Wiring the 100 amp subpanel from a 200 amp panel
- Route Wires into the Subpanel: Bring the feeder cable into the subpanel through a proper connector.
- Connect Wires:
- Connect the two hot wires to the main lugs (or main breaker, if present) of the subpanel.
- Connect the neutral wire to the neutral bus bar.
- Connect the ground wire to the ground bus bar.
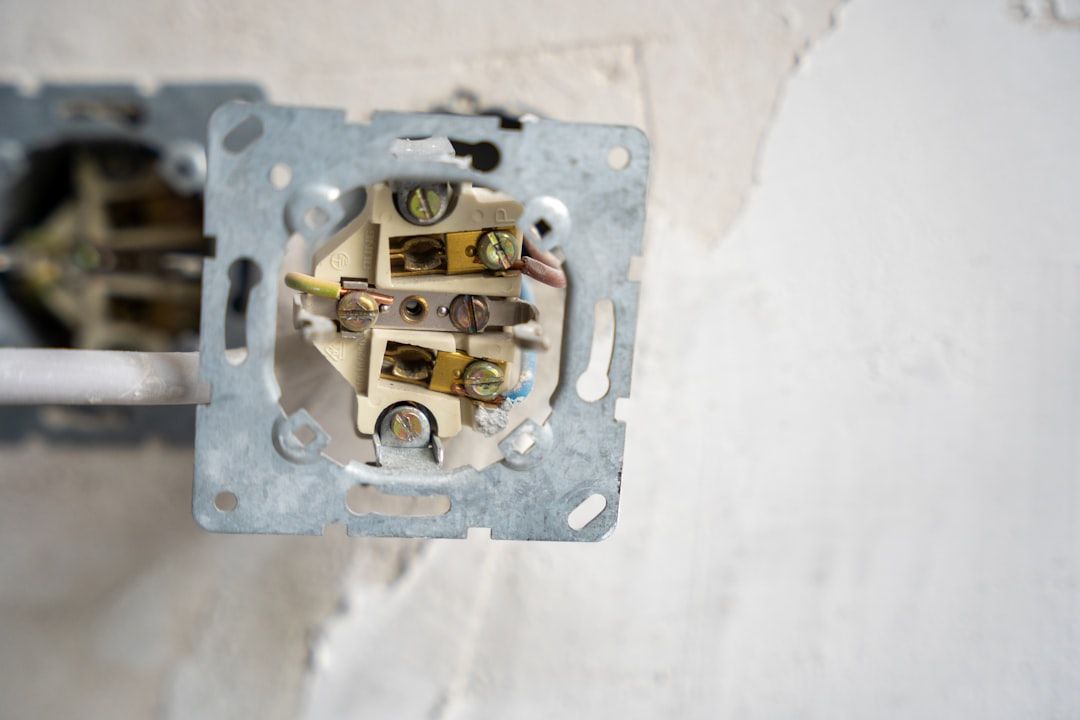
- Remove Bonding Jumper: This is a critical step. Locate and remove the bonding screw or strap that connects the neutral bar to the panel's metal case. This ensures the ground and neutral are isolated in the subpanel.
- Final Torque Check: Double-check that all terminal screws are tightened to the correct torque specifications.
For more technical details, this forum discussion offers additional insights.
Step 4: The Critical Rules of Grounding and Bonding
Proper grounding and bonding are vital for safety in any subpanel installation. The National Electrical Code (NEC) has strict rules to prevent electrical shock and fire hazards, especially when connecting a 200 amp panel with a 100 amp subpanel.
How to Properly Ground and Bond a 100 amp subpanel
How do you properly ground and bond a subpanel? Unlike a main panel, a subpanel requires the neutral and ground systems to be kept separate.
- Separate Grounds and Neutrals: In a subpanel, the neutral (white) wires must land on an isolated neutral bar, while the equipment ground (bare or green) wires connect to a separate ground bar that is bonded to the panel's metal enclosure.
- Remove the Bonding Jumper: Subpanels are often shipped with a green bonding screw or a metal strap that connects the neutral bar to the panel enclosure. This must be removed. Leaving it in place creates a dangerous parallel path for current on the grounding system, which can energize metal components and cause a shock hazard.
- Use a Four-Wire Feeder: A 4-wire feeder (2 hot, 1 neutral, 1 ground) is required for this setup. The separate ground wire provides a safe path for fault current back to the main panel.
Special Grounding for Detached Structures
What are the specific requirements for grounding a subpanel in a detached structure?
If the subpanel is in a separate building like a garage or workshop, it needs its own grounding electrode system.
- Ground Rods: You must install one or more grounding rods (typically two 8-foot rods spaced at least 6 feet apart) at the detached structure.
- Grounding Electrode Conductor (GEC): A copper wire (e.g., 8 AWG) must connect the subpanel's ground bar to these ground rods.
- Protection: The GEC must be protected from physical damage where it is exposed, usually by running it through conduit. Aluminum wire is never allowed for ground rod terminations; only copper is permitted.
This dedicated grounding system ensures safety by providing a local path to earth for any electrical faults.
Frequently Asked Questions about Subpanel Installations
Here are answers to common questions about installing a 200 amp panel with a 100 amp subpanel.
Can I use a subpanel with a higher amp rating than its feeder breaker?
Yes, this is a common and safe practice compliant with the National Electrical Code (NEC). The 100-amp breaker in your main panel provides the necessary overcurrent protection for the feeder wires. The subpanel's higher rating (e.g., 200 amps) simply means its internal components can handle more current than they will receive. If the subpanel has its own main breaker, it serves as a convenient local disconnect switch.
What are the biggest safety risks of an improper subpanel installation?
Improper installation can lead to serious hazards:
- Fire Hazards: Caused by loose connections or overloaded circuits, which can overheat wires and ignite materials.
- Electrical Shock: Incorrect grounding can energize metal parts of the system, creating a severe shock risk.
- Overloaded Circuits: Without a proper load calculation, you risk overloading your main service, causing frequent breaker trips and damaging appliances.
- Code Violations: A faulty installation will fail inspection, leading to delays and extra costs.
How far can I run the wire from the main panel to the subpanel?
The distance is limited by voltage drop, which is the loss of electrical potential over the length of a wire. Excessive voltage drop can cause equipment to malfunction. For a 100-amp subpanel, a long run (e.g., over 70-80 feet) may require a larger wire gauge (like 3 AWG copper or 1 AWG aluminum) than what is required for ampacity alone. Always use a voltage drop calculator or consult an electrician to determine the correct wire size for your specific distance and load.
Conclusion: Powering Your Future Safely
Installing a 200 amp panel with a 100 amp subpanel is an excellent way to meet the growing electrical demands of a modern home, whether for a new workshop, home office, or EV charger.
This guide has covered the key steps, from planning and load calculation to wiring and crucial safety measures like proper grounding. While the process is manageable, it requires careful attention to detail and strict adherence to electrical codes to prevent fire and shock hazards.
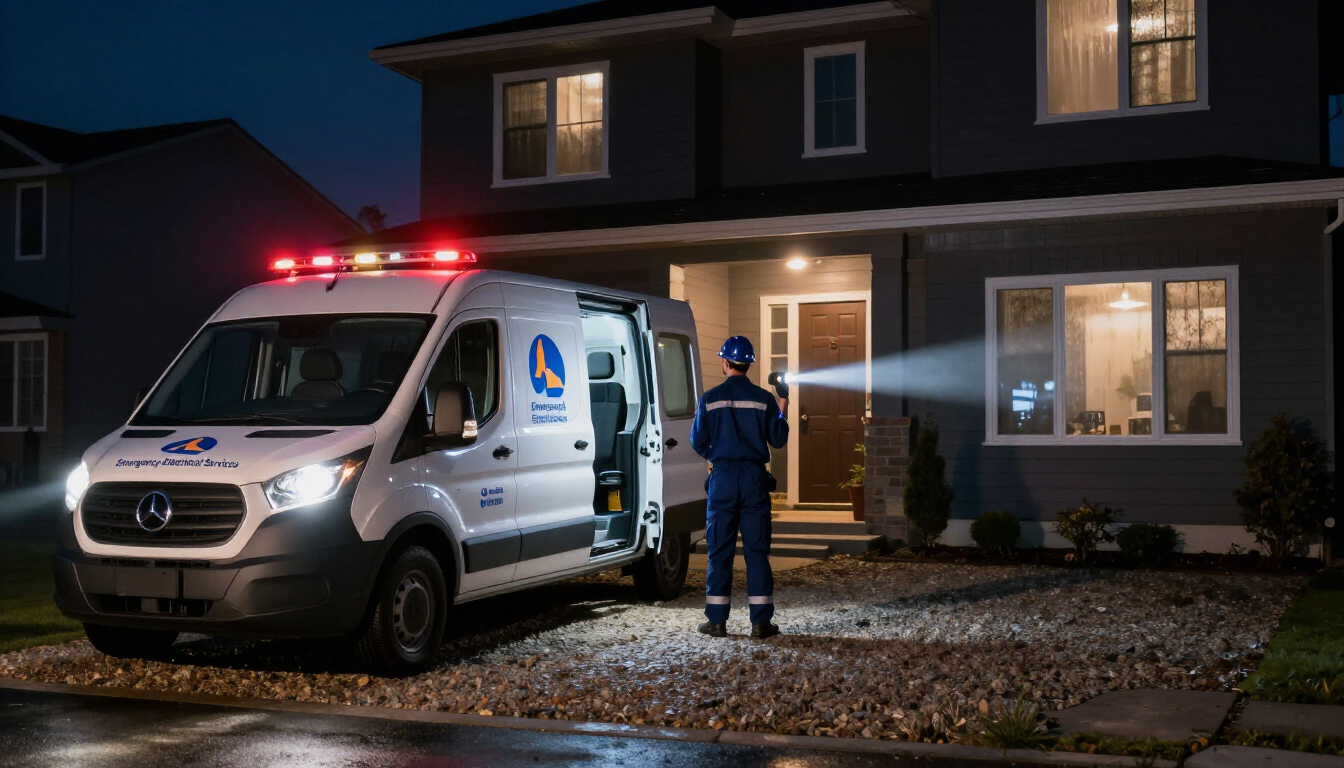
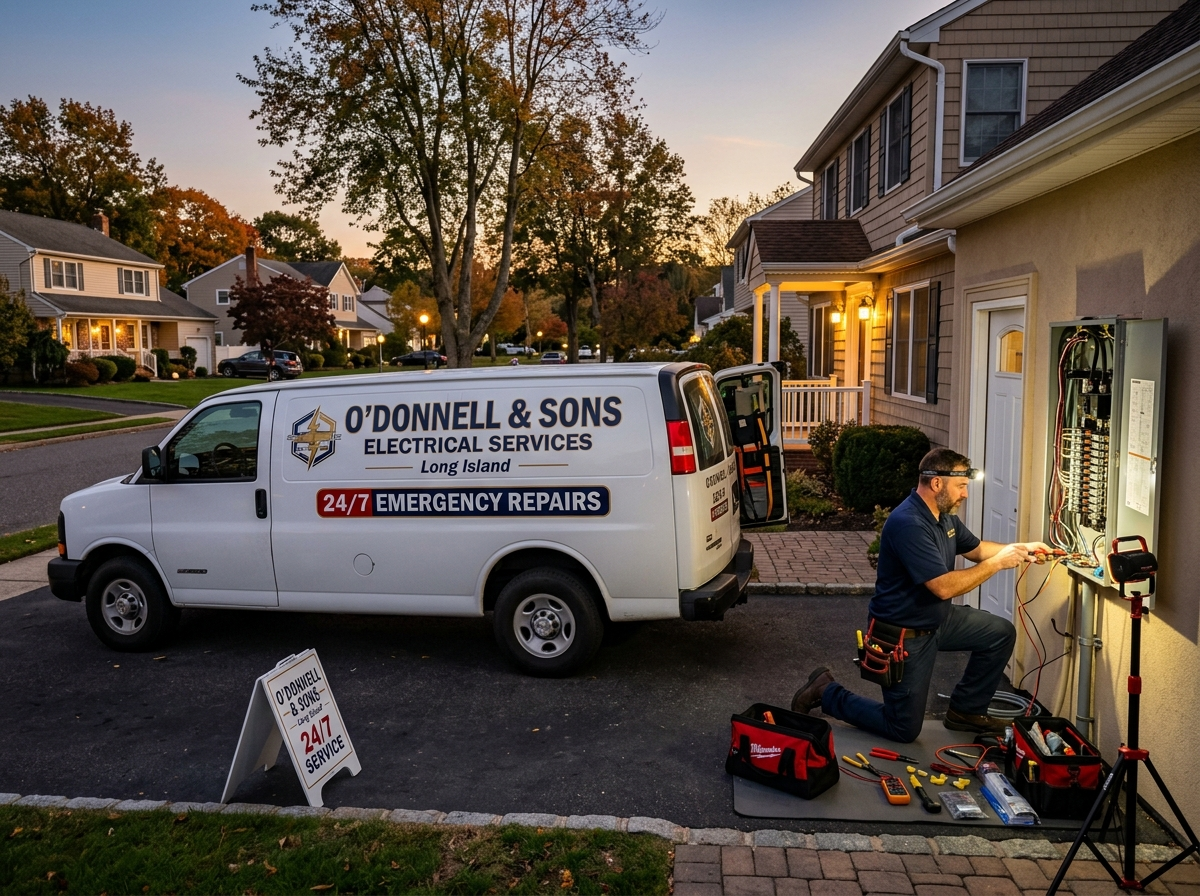
For over 30 years, Zion Electric Inc. has provided safe, reliable electrical services to homes and businesses across Long Island and Holtsville, NY. If you're considering a subpanel installation, trust our certified electricians to get the job done right. We ensure your system is safe, efficient, and up to code.
When in doubt, or if you simply prefer the peace of mind that comes with professional expertise, don't hesitate to reach out. We're here to ensure your electrical system supports your lifestyle safely and effectively.