Why Festoon Lights Are the Perfect Outdoor Lighting Solution
If you're looking to install festoon lights, you're choosing a versatile and charming way to light up your outdoor space. Whether for a year-round glow, pergola lighting, or a special event, festoon lights provide a warm, timeless appeal.
Quick Answer: 5 Ways to Install Festoon Lights
- Guide Wire System- Most reliable for permanent installations; uses tensioned wire between anchor points.
- Wall Mounting- Drill into mortar, install hooks, and drape lights along walls or fences.
- Pole System- Freestanding option using 2.4m-3m poles spaced 50-80cm apart.
- Tree-to-Tree- Natural anchors; wrap cords around trunks and secure with cable ties.
- Temporary Hooks- Adhesive outdoor-rated hooks spaced 60-100cm apart for events.
Festoon lights are perfect for garden parties, weddings, or turning your patio into an inviting retreat. The key is choosing the right installation method. Permanent methods like guide wires offer durability, while temporary solutions like adhesive hooks are great for events and won't damage surfaces.
Proper installation is key for safety and appearance, involving planning, hardware selection, safe power management, and correct spacing (typically 30-50cm between bulbs).
Planning Your Festoon Light Installation
Before you begin, a little planning goes a long way toward a successful and safe festoon light installation. This initial stage is crucial for both aesthetics and safety.

First, choose the right lights. Always opt for outdoor-rated ones with an Ingress Protection (IP) rating of IP44 or higher to ensure they can withstand rain and dust.
Next, consider your power source. Solar-powered lights are a wireless, energy-efficient solution, great for areas without outlets. However, mains-powered festoons offer more reliable and consistent brightness, making them a popular choice for permanent installations.
Bulb types also play a role. LED bulbs are energy-efficient and long-lasting, with many options that mimic the warm glow of traditional incandescent bulbs.
Spacing is another critical consideration. For a warm glow, space bulbs 30–50cm apart. Wider spacing creates a more subtle look. For pole systems, space poles 50-80cm apart, and for temporary hooks, 60-100cm apart.
Finally, measure your space and sketch a simple diagram to determine the total length of lights you'll need, accounting for any desired "swoops" or drapes.
Essential Tools and Materials
Having the right tools on hand makes any installation smoother and safer. Here’s a comprehensive list:
- Tape Measure: For accurate measurements.
- Ladder: For safely reaching high anchor points.
- Drill: For permanent installs into walls or wood.
- Hooks: Eye hooks, cup hooks, or outdoor-rated adhesive hooks.
- Guide Wire Kit: Includes wire, clamps, and turnbuckles for guide wire systems.
- Turnbuckles: To create tension in a guide wire and prevent sagging.
- Cable Ties (UV-resistant): For attaching lights to guide wires, poles, or branches.
- Outdoor Extension Cord: An outdoor-rated cord if your power source is distant.
- Wall Plugs (Anchors): For securing hooks into masonry.
- Silicone Sealant: To waterproof drilled holes in walls.
- Wire Cutters/Pliers: For cutting guide wire or tightening connections.
- Rubber Mallet: For tapping in wall plugs.
Safety First: Key Considerations
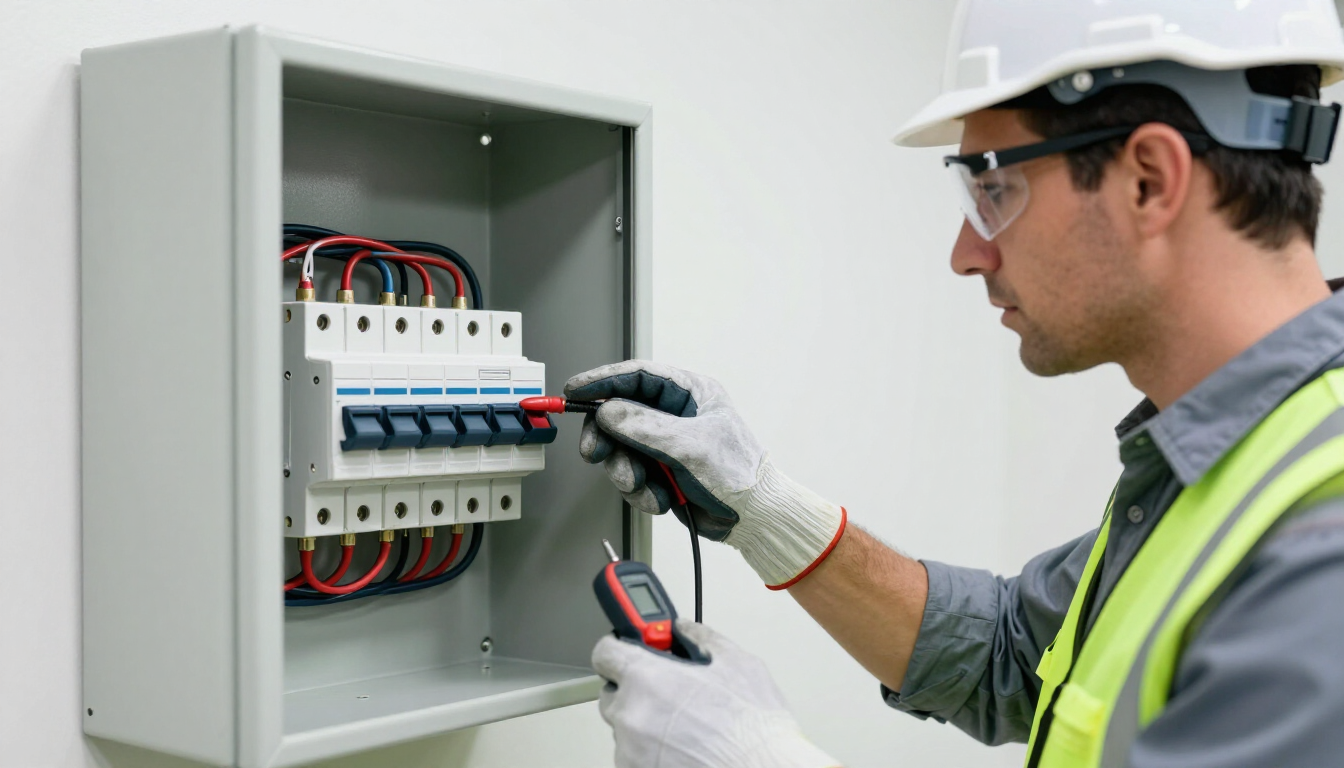
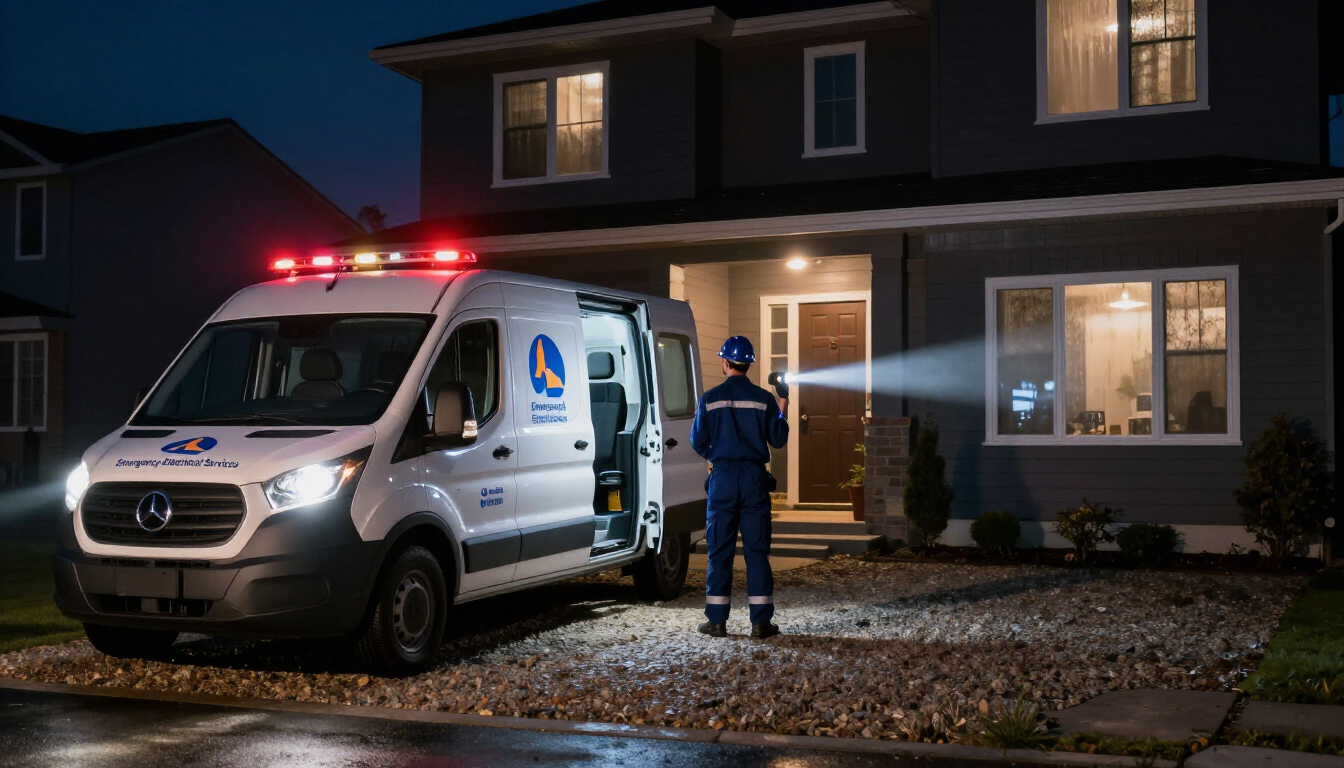
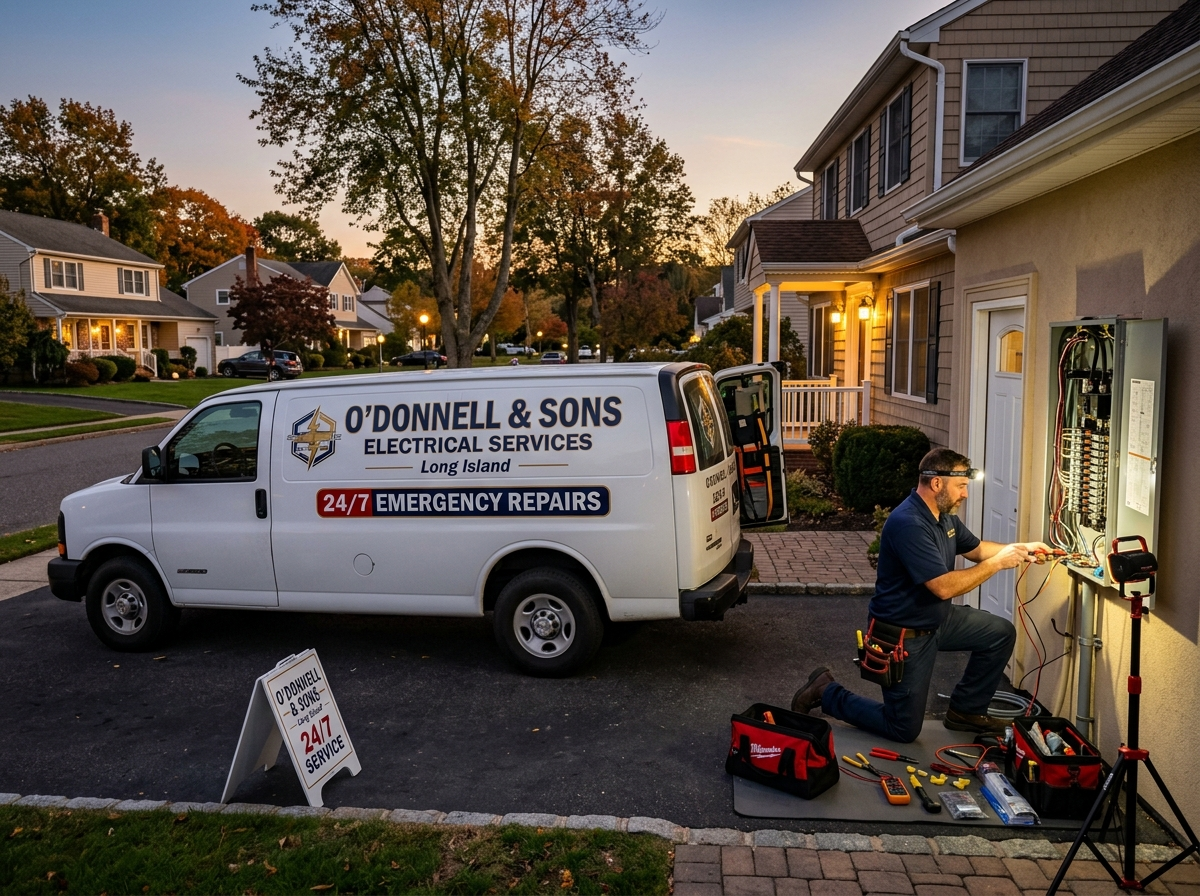
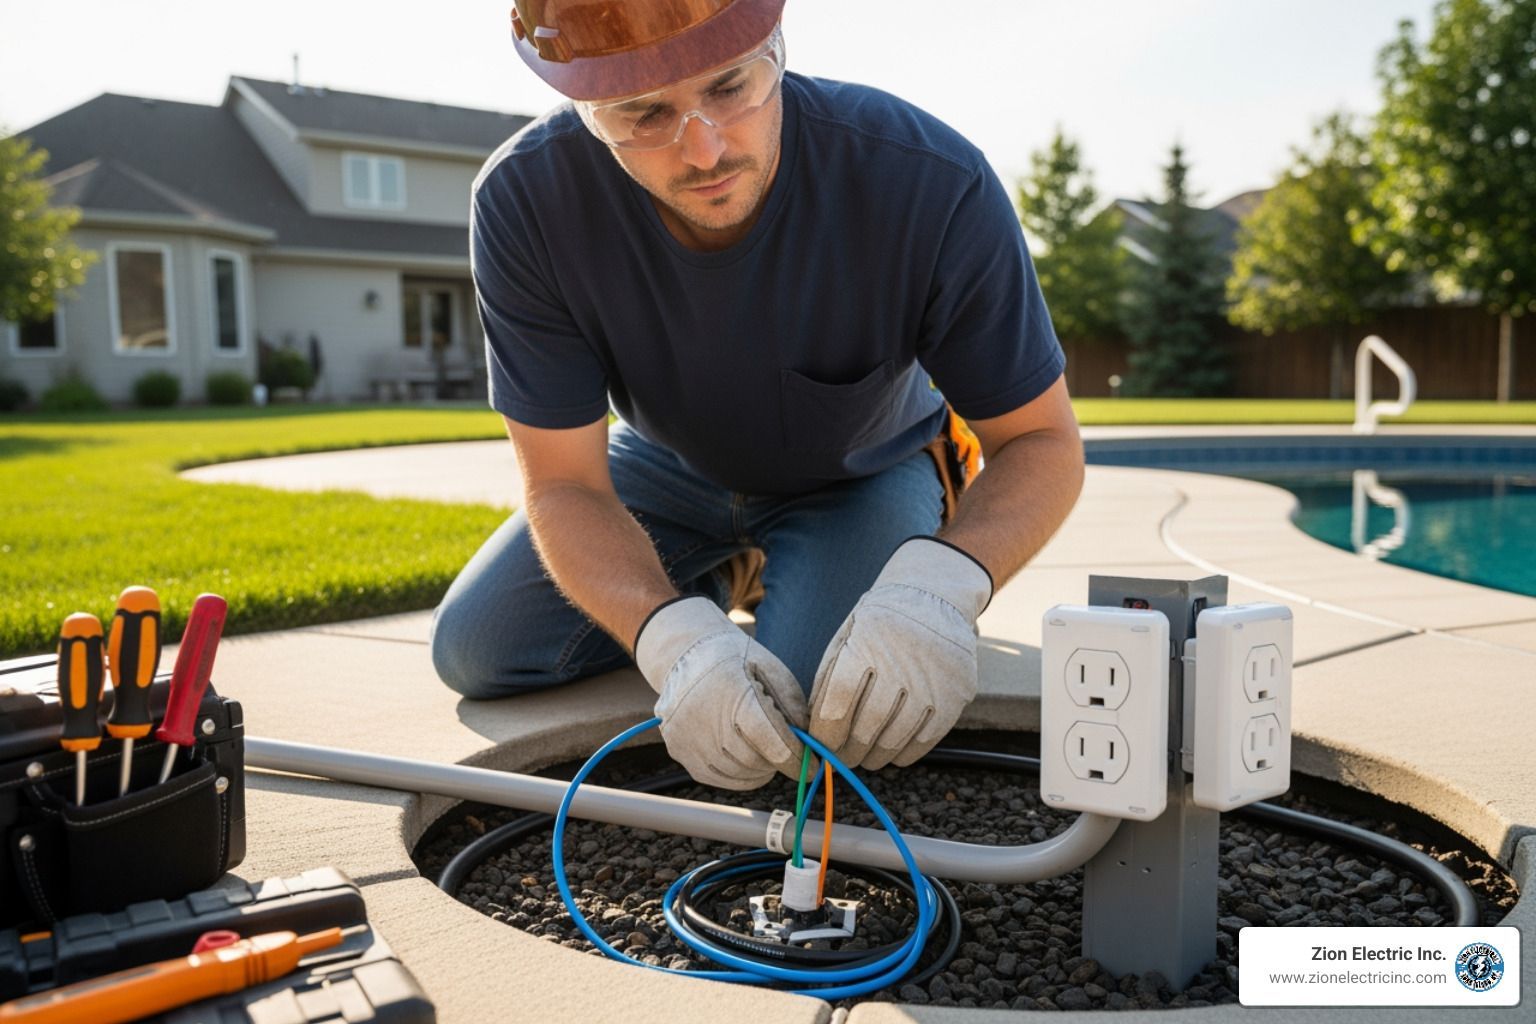
Safety is paramount when working with electricity outdoors. As a family-owned electrical services company serving Long Island for over 30 years, we at Zion Electric Inc. cannot stress this enough.
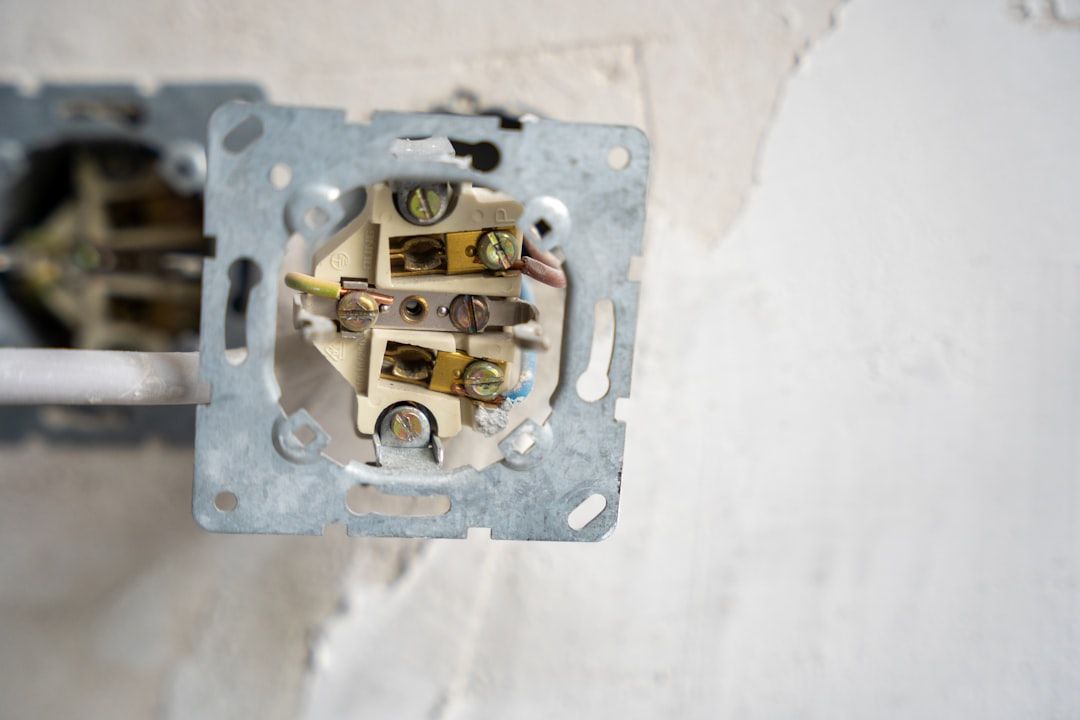
Always use outdoor-rated festoon lights and extension cords. All connections must be weatherproof. Plug your lights into a Ground Fault Circuit Interrupter (GFCI) outlet. A GFCI is designed to cut power immediately if it detects a fault, drastically reducing the risk of electric shock. If you're unsure about your outdoor outlets, consult a qualified electrician.
Avoid excessive tension on cables. Tension can damage wiring and bulbs. Always allow a slight slack or "swoop" in the lines to accommodate wind.
Finally, ladder safety is critical. Ensure your ladder is stable on a firm, level surface. Never overreach; it’s always safer to move the ladder. For any complex outdoor electrical work, or if you have concerns about your wiring, our team at Zion Electric Inc. offers reliable General Electrical Services throughout Long Island and Holtsville.
How to Install Festoon Lights: Methods & Techniques
Choosing the right method to install festoon lights depends on your space, desired aesthetic, and whether you need a temporary or permanent solution.
| Installation Method | Durability | Cost (Materials) | Ease of Install | Best Use Case |
|---|---|---|---|---|
| Temporary Hooks | Low | Low | Very Easy | Events, short-term décor, rental properties |
| Tree-to-Tree | Medium | Low-Medium | Easy | Rustic look, natural landscapes, temporary/seasonal |
| Pole System | Medium-High | Medium | Medium | Open spaces, defining areas, flexible layouts |
| Wall Mounting | High | Medium-High | Medium-Hard | Structured look, defined perimeters, year-round |
| Guide Wire System | Very High | Medium-High | Harder | Permanent, large spans, professional finish, year-round |
Temporary solutions are quick and easy, while permanent options offer superior durability for year-round enjoyment.
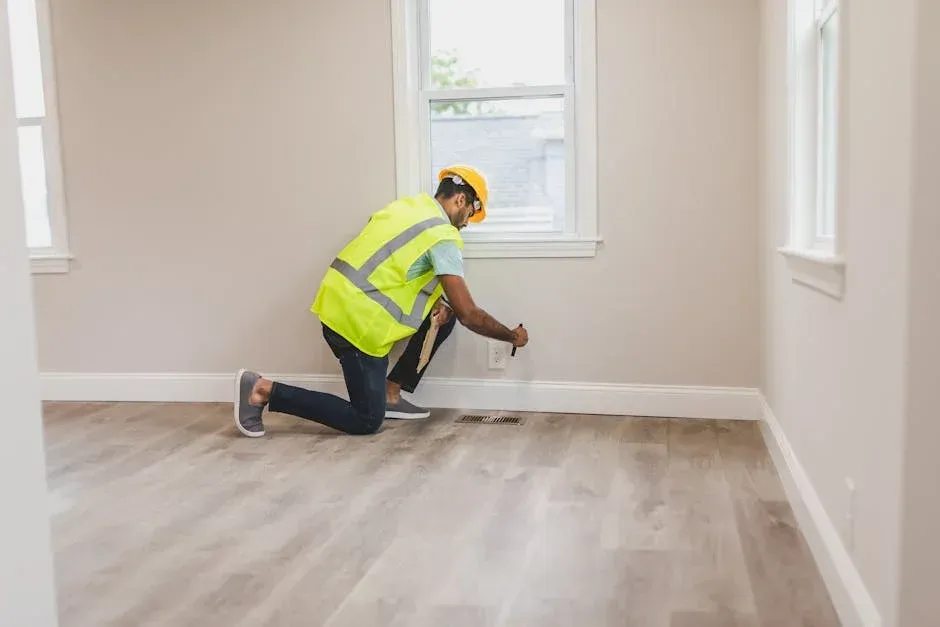
Permanent Solutions: How to Install Festoon Lights on a Wall
Mounting lights on a wall or fence creates a clean, structured look for a permanent, reliable lighting scheme.

- Mark Your Layout: Mark hook points about 50cm apart for even light distribution.
- Drill into Mortar: Crucially, drill into the mortar joints, not the bricks themselves, to avoid cracking. For wood, pre-drill a pilot hole.
- Use Wall Plugs and Hooks: Insert wall plugs (anchors) into the holes, then screw in your eye hooks for a secure hold.
- Seal Holes: Apply exterior-grade silicone sealant around each hole to create a waterproof barrier.
- Drape Lights with Slack: String your lights, attaching them to each hook. Allow a gentle "swoop" between hooks to reduce tension. Mains-powered festoons are recommended for reliability.
For complex wall-mounting projects, our team at Zion Electric Inc. specializes in Certified Installations to ensure a safe and professional result.
The Sturdy Option: Using a Guide Wire System
A guide wire system is the gold standard for permanent installations, especially over long spans. It prevents sagging by supporting the lights on a separate, strong wire, which extends their lifespan.
- Install Eye Hooks: Securely install heavy-duty eye hooks at your main anchor points (posts, walls, or trees).
- Thread the Guide Wire: Run the steel guide wire through the eye hooks, leaving some initial slack.
- Use Turnbuckles for Tension: Attach turnbuckles to the wire and eye hooks. Tighten them until the wire is taut, creating a firm, straight line.
- Attach Lights: Use UV-resistant cable ties to attach the festoon light cable to the guide wire every 30-50cm, allowing a little slack in the light cable itself.
Freestanding Displays: Using a Pole System
A pole system offers incredible flexibility for open spaces without existing anchor points, allowing you to define areas or create a canopy effect.
- Pole Height: Poles 2.4m to 3m (8-10 feet) high keep lights safely above head height while maintaining an intimate feel.
- Securing Poles: For permanent setups, embed poles in concrete. For temporary use, use heavy weighted bases or large planters filled with rocks.
- Spacing Between Poles: Space poles 50-80cm apart to minimize sagging.
- Draping Lights: Attach lights to the top of each pole, allowing a gentle swoop between them to reduce tension and allow for wind movement.
Natural Anchors: Hanging Lights Between Trees
Using trees as anchors creates a magical, rustic look that blends seamlessly with your garden.
- Protect Tree Bark: To protect tree health, never use nails or screws. Instead, wrap cords around sturdy trunks or branches. For added protection, place a piece of cloth between the cord and the bark.
- Secure the Lights: Use UV-resistant cable ties to secure the light string at each attachment point.
- Allow for Movement: Always leave ample slack in the line. This allows the lights to move with the tree in the wind, preventing strain on the lights and the tree itself.
- Use Weatherproof Lights: As with any outdoor installation, ensure your lights are rated IP44 or higher.
Temporary Solutions: How to Install Festoon Lights with Removable Outdoor Hooks
For special occasions, removable outdoor hooks are a quick, easy, and damage-free solution.
- Ideal for Events: These hooks are perfect for temporary use on smooth surfaces like painted wood, vinyl siding, or glass. The adhesive strips remove cleanly, making them great for rentals.
- Prepare the Surface: Clean the surface with rubbing alcohol and let it dry completely before applying hooks.
- Use Outdoor-Rated Hooks: Always use hooks and adhesive strips specifically rated for outdoor use to withstand weather.
- Space and Cure: Space hooks every 60-100cm. Follow the manufacturer's instructions for curing time before hanging lights to ensure a strong bond.
- Drape Without Tension: Gently drape the lights with a natural swoop to avoid pulling the hooks off.
For any lighting installation, understanding General lighting installation principles can help ensure your setup is safe and effective.
Power, Maintenance, and Storage
Once your festoon lights are installed, proper power management, maintenance, and storage will ensure they shine brightly and safely for seasons to come.
Power Source Considerations
For mains-powered lights, always use outdoor-rated extension leads and sockets. We recommend plugging them into GFCI (Ground Fault Circuit Interrupter) protected outlets, which instantly cut power in case of a fault. Ensure your circuit can handle the total wattage to avoid overloading.
Managing Cables Safely
Conceal cables neatly using cable guards or run them along the base of fences. This improves aesthetics and prevents tripping hazards.
Wind Mitigation
Long Island can get windy. Always allow slack in the line to reduce tension from wind, letting the lights flex with the breeze. Secure any cable joins with waterproof tape or clips to prevent moisture ingress. Rubberized cables can also provide additional durability.
Long-Term Care and Maintenance
Regular TLC will ensure your lights' longevity.
- Regular Cleaning: Unplug the lights and wipe bulbs gently with a soft, damp cloth every few months to remove dust and debris.
- Check for Damage: Before each use, check for frayed cables or loose connections. Replace any damaged sections or strings immediately.
- Bulb Replacement: Keep spare bulbs on hand to quickly swap out any that burn out.
For any electrical concerns related to your outdoor lighting, our team at Zion Electric Inc. provides expert General Electrical Services.
Storing Your Festoon Lights
Proper storage extends the life of your lights and prevents tangles.
- When to Take Lights Down: We recommend taking lights down during extreme winter weather, as the weight of heavy snow or ice can cause damage.
- Coil Cables Neatly: Carefully coil cables without kinking them. Using a cord reel or wrapping them around cardboard can prevent tangles.
- Remove Bulbs: Consider removing the bulbs before storage to protect them from breaking.
- Store Properly: Always store your lights in a dry, cool place like a garage, shed, or basement.
Frequently Asked Questions about Festoon Light Installation
Here are answers to some of the most common queries we receive from our clients in Long Island and Holtsville.
What is the best spacing for festoon light bulbs?
The ideal spacing depends on your desired ambiance. For a full, warm glow, we recommend spacing bulbs 30–50cm apart. For a more minimalist look, use wider spacing (e.g., 60-100cm). Your desired brightness is the ultimate guide. For specific methods, space wall hooks approximately 50cm apart and poles 50-80cm apart.
How do I make my festoon light installation weatherproof?
Weatherproofing is crucial for safety and longevity. Here are our top tips:
- Use High IP Ratings: Start with lights that have a high Ingress Protection (IP) rating, such as IP44 or higher.
- Use Outdoor-Rated Components: Ensure all lights, extension cords, and timers are rated for outdoor use.
- Protect Sockets: Use weatherproof socket covers and plug into GFCI-protected outlets.
- Seal Drilled Holes: If you drill into walls, seal the holes with exterior-grade silicone sealant.
- Allow Slack: A gentle slack in the light lines helps them withstand wind.
- Secure Connections: Use waterproof tape to seal any cable joins against moisture.
Can I connect multiple sets of festoon lights together?
Yes, but only if the lights are explicitly labeled as "connectable." Always check the manufacturer's instructions for the maximum number of sets you can safely link together to avoid overloading the circuit. Ensure the connection points between strands are also weatherproof and maintain the lights' IP rating.
Conclusion
We hope this guide helps you successfully install festoon lights. From planning and choosing the right lights to mastering installation techniques and understanding safety measures, you have the essential steps to transform your outdoor space.
Festoon lights create a warm, inviting ambiance and add a touch of timeless charm. Whether you opt for a sturdy guide wire system or temporary hooks for an event, the key to a beautiful and lasting display lies in careful planning and proper technique.
While many installations are DIY-friendly, professional help is recommended for complex projects to ensure a safe, compliant, and stunning result.
At Zion Electric Inc., we pride ourselves on providing reliable, high-quality electrical solutions for homes and businesses across Long Island and Holtsville. If you're looking to lift your outdoor lighting with festoon lights or have any electrical needs, our team of experts is here to help. We offer clear communication, quick response, and top-tier workmanship, ensuring your lighting dreams become a bright reality. Explore our specialty lighting services today and let us help you illuminate your space safely and beautifully.